See also
- Francis SAMUELSON's parents: Bernhard SAMUELSON (1881- ) and Caroline BLUNDELL ( -1886)
- Francis SAMUELSON's siblings: Henry Bernhard SAMUELSON (1845- ), Godfrey Blundell SAMUELSON (1863- ) and Herbert Walter SAMUELSON (1865- )
Francis SAMUELSON Bart. (1861-1946)
1. Francis Arthur Edward SAMUELSON Bart., son of Sir Bernhard SAMUELSON of Bodicote Grange, co. Oxford, FRS, JP (1881- ) and Caroline BLUNDELL ( -1886), was born on 26 February 1861 in Torquay, Devon. He had the title '3rd Baronet'. He was a Businessman. He died in 1946. He married Fanny Isabel WRIGHT.
The 1891 census for Sockburn, Darlington, gives FAES as an "Ironmaster". He has a daughter listed as Gertrude: could this be Muriel Gertrude??
Fanny Isabel WRIGHT was the daughter of William Merritt WRIGHT ( - ). She and Francis Arthur Edward SAMUELSON had the following children:
| +2 | |
| +3 | |
| +4 |
Second Generation
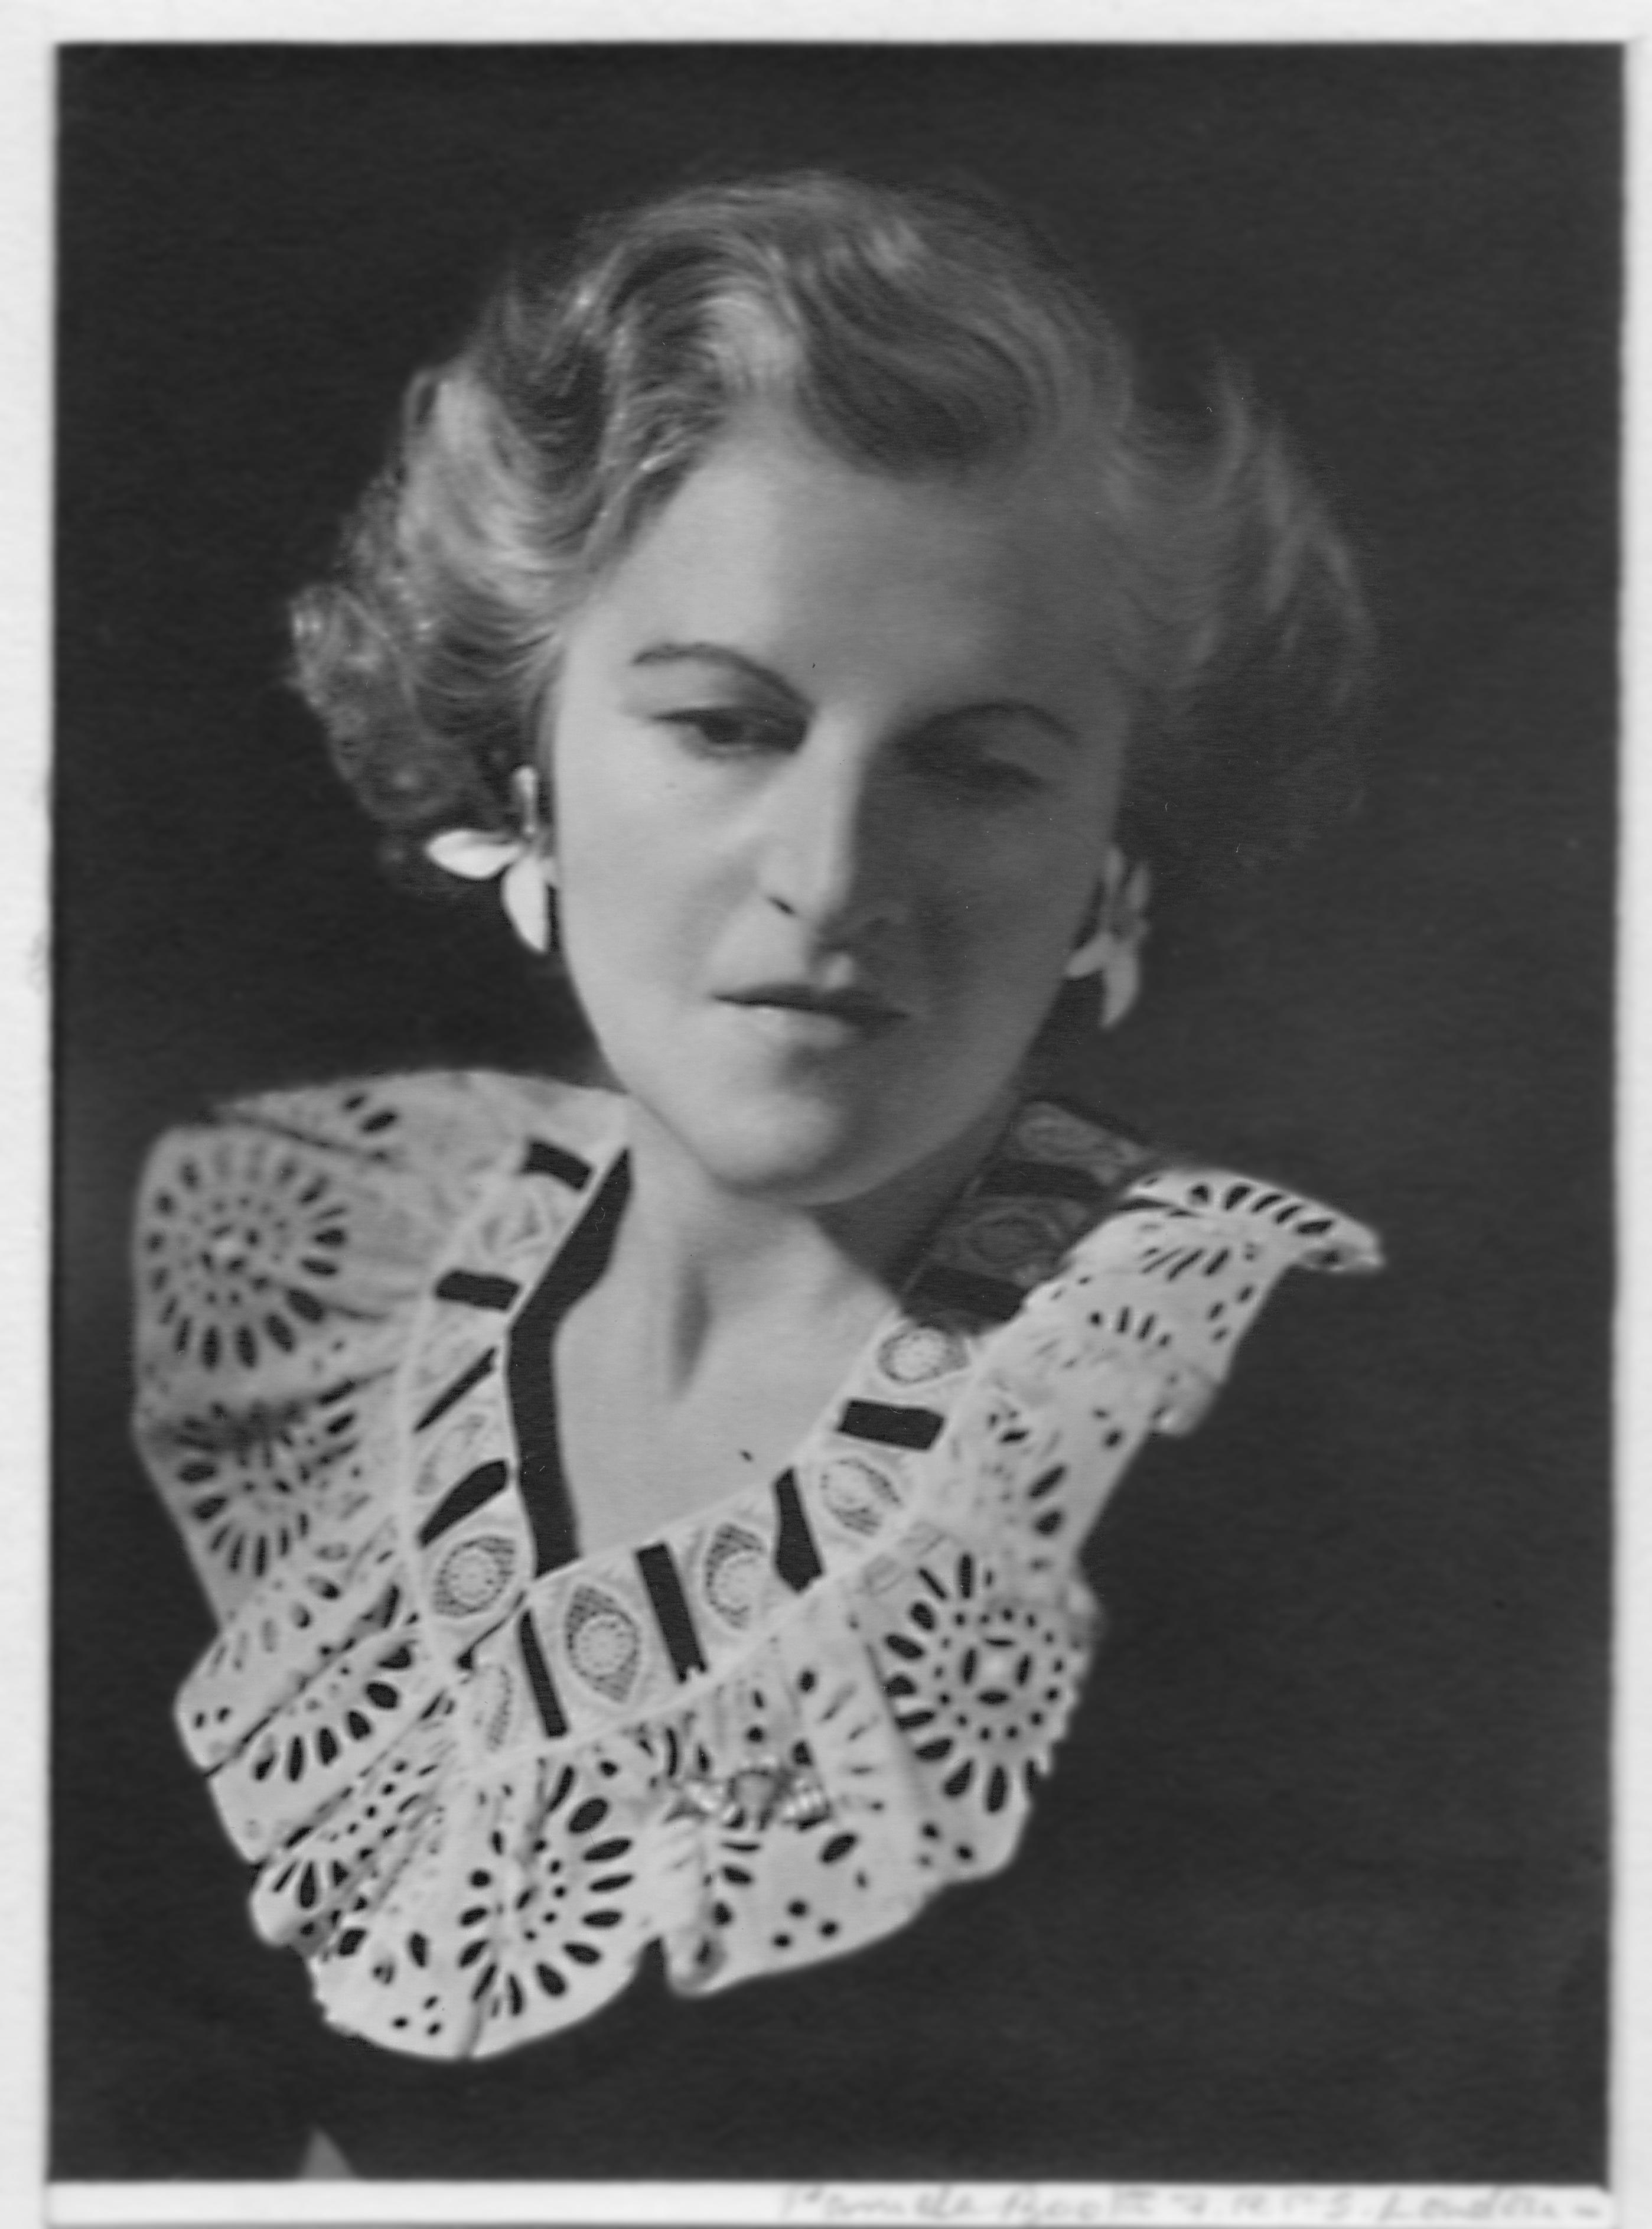
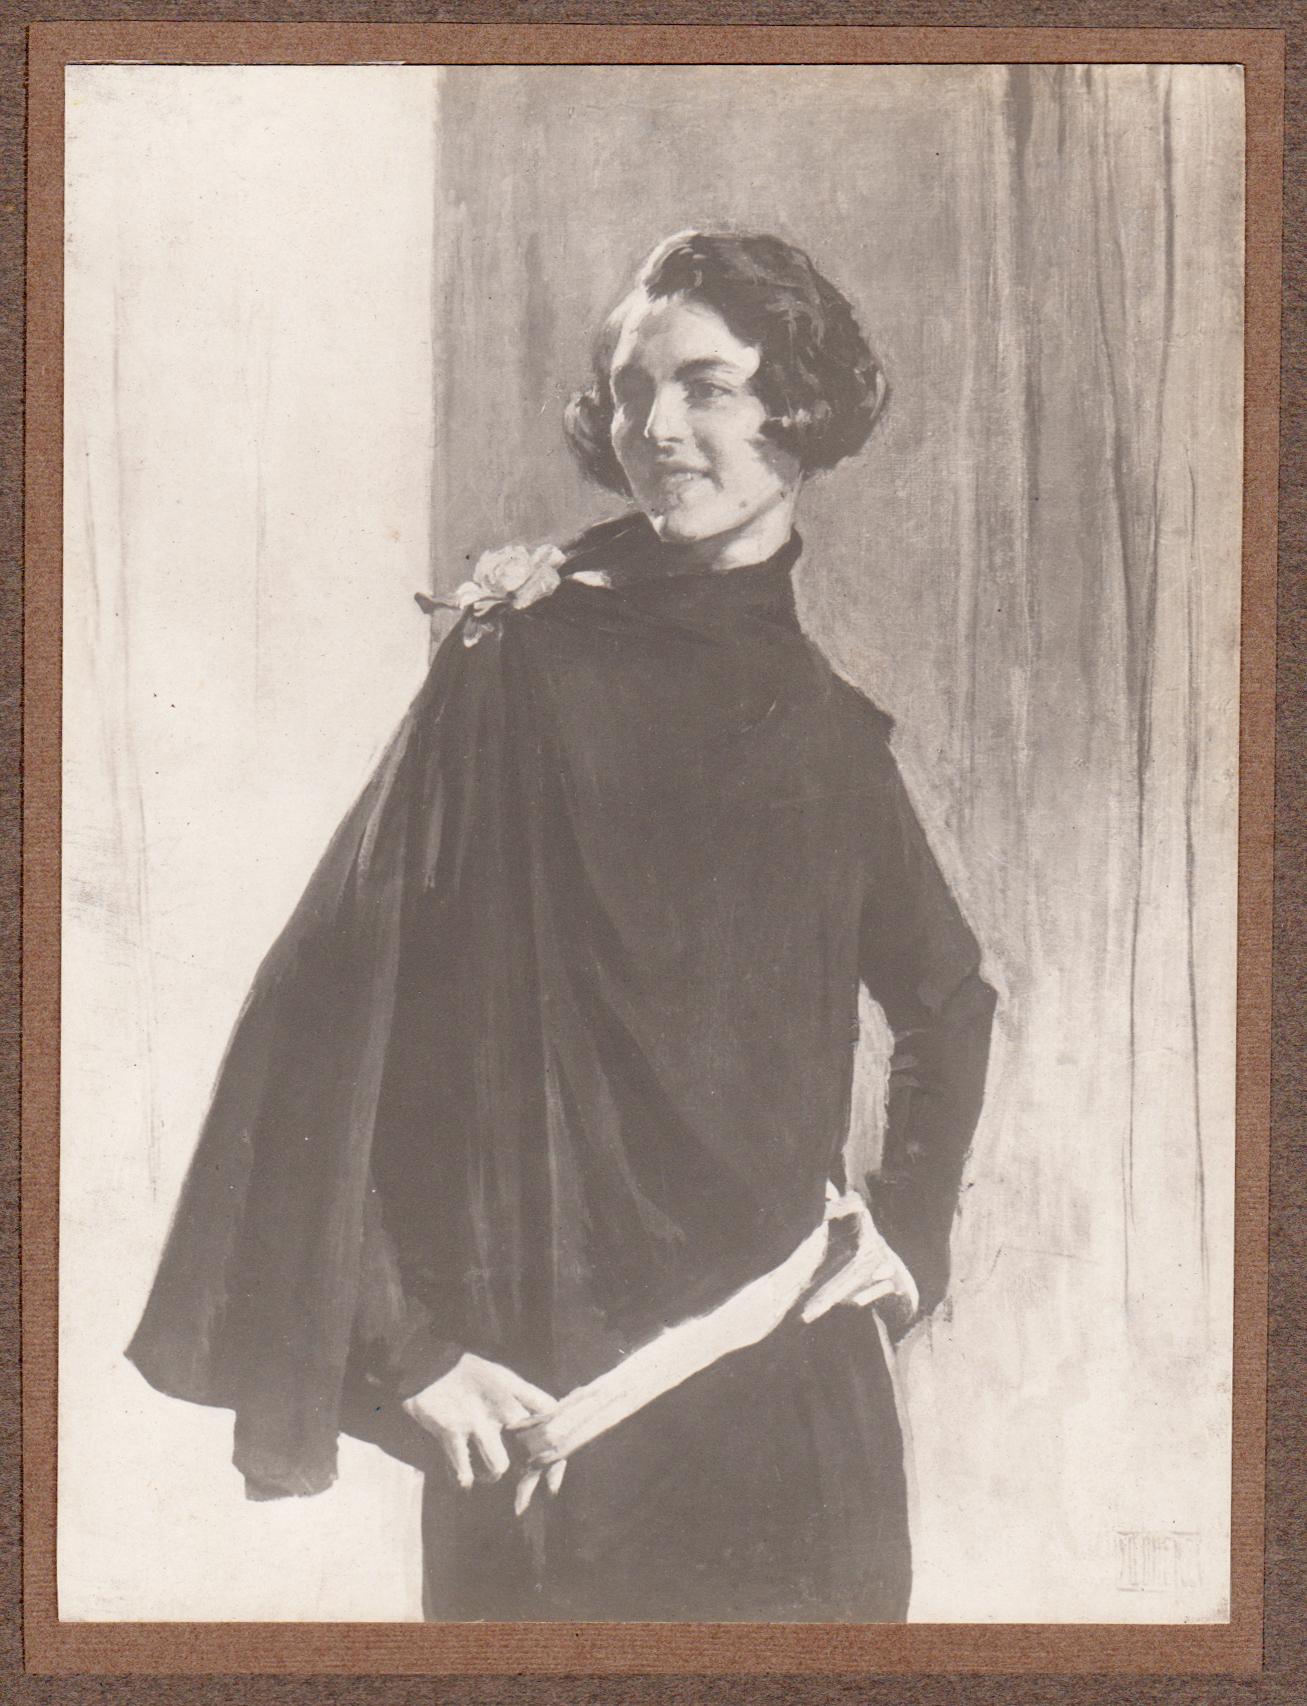
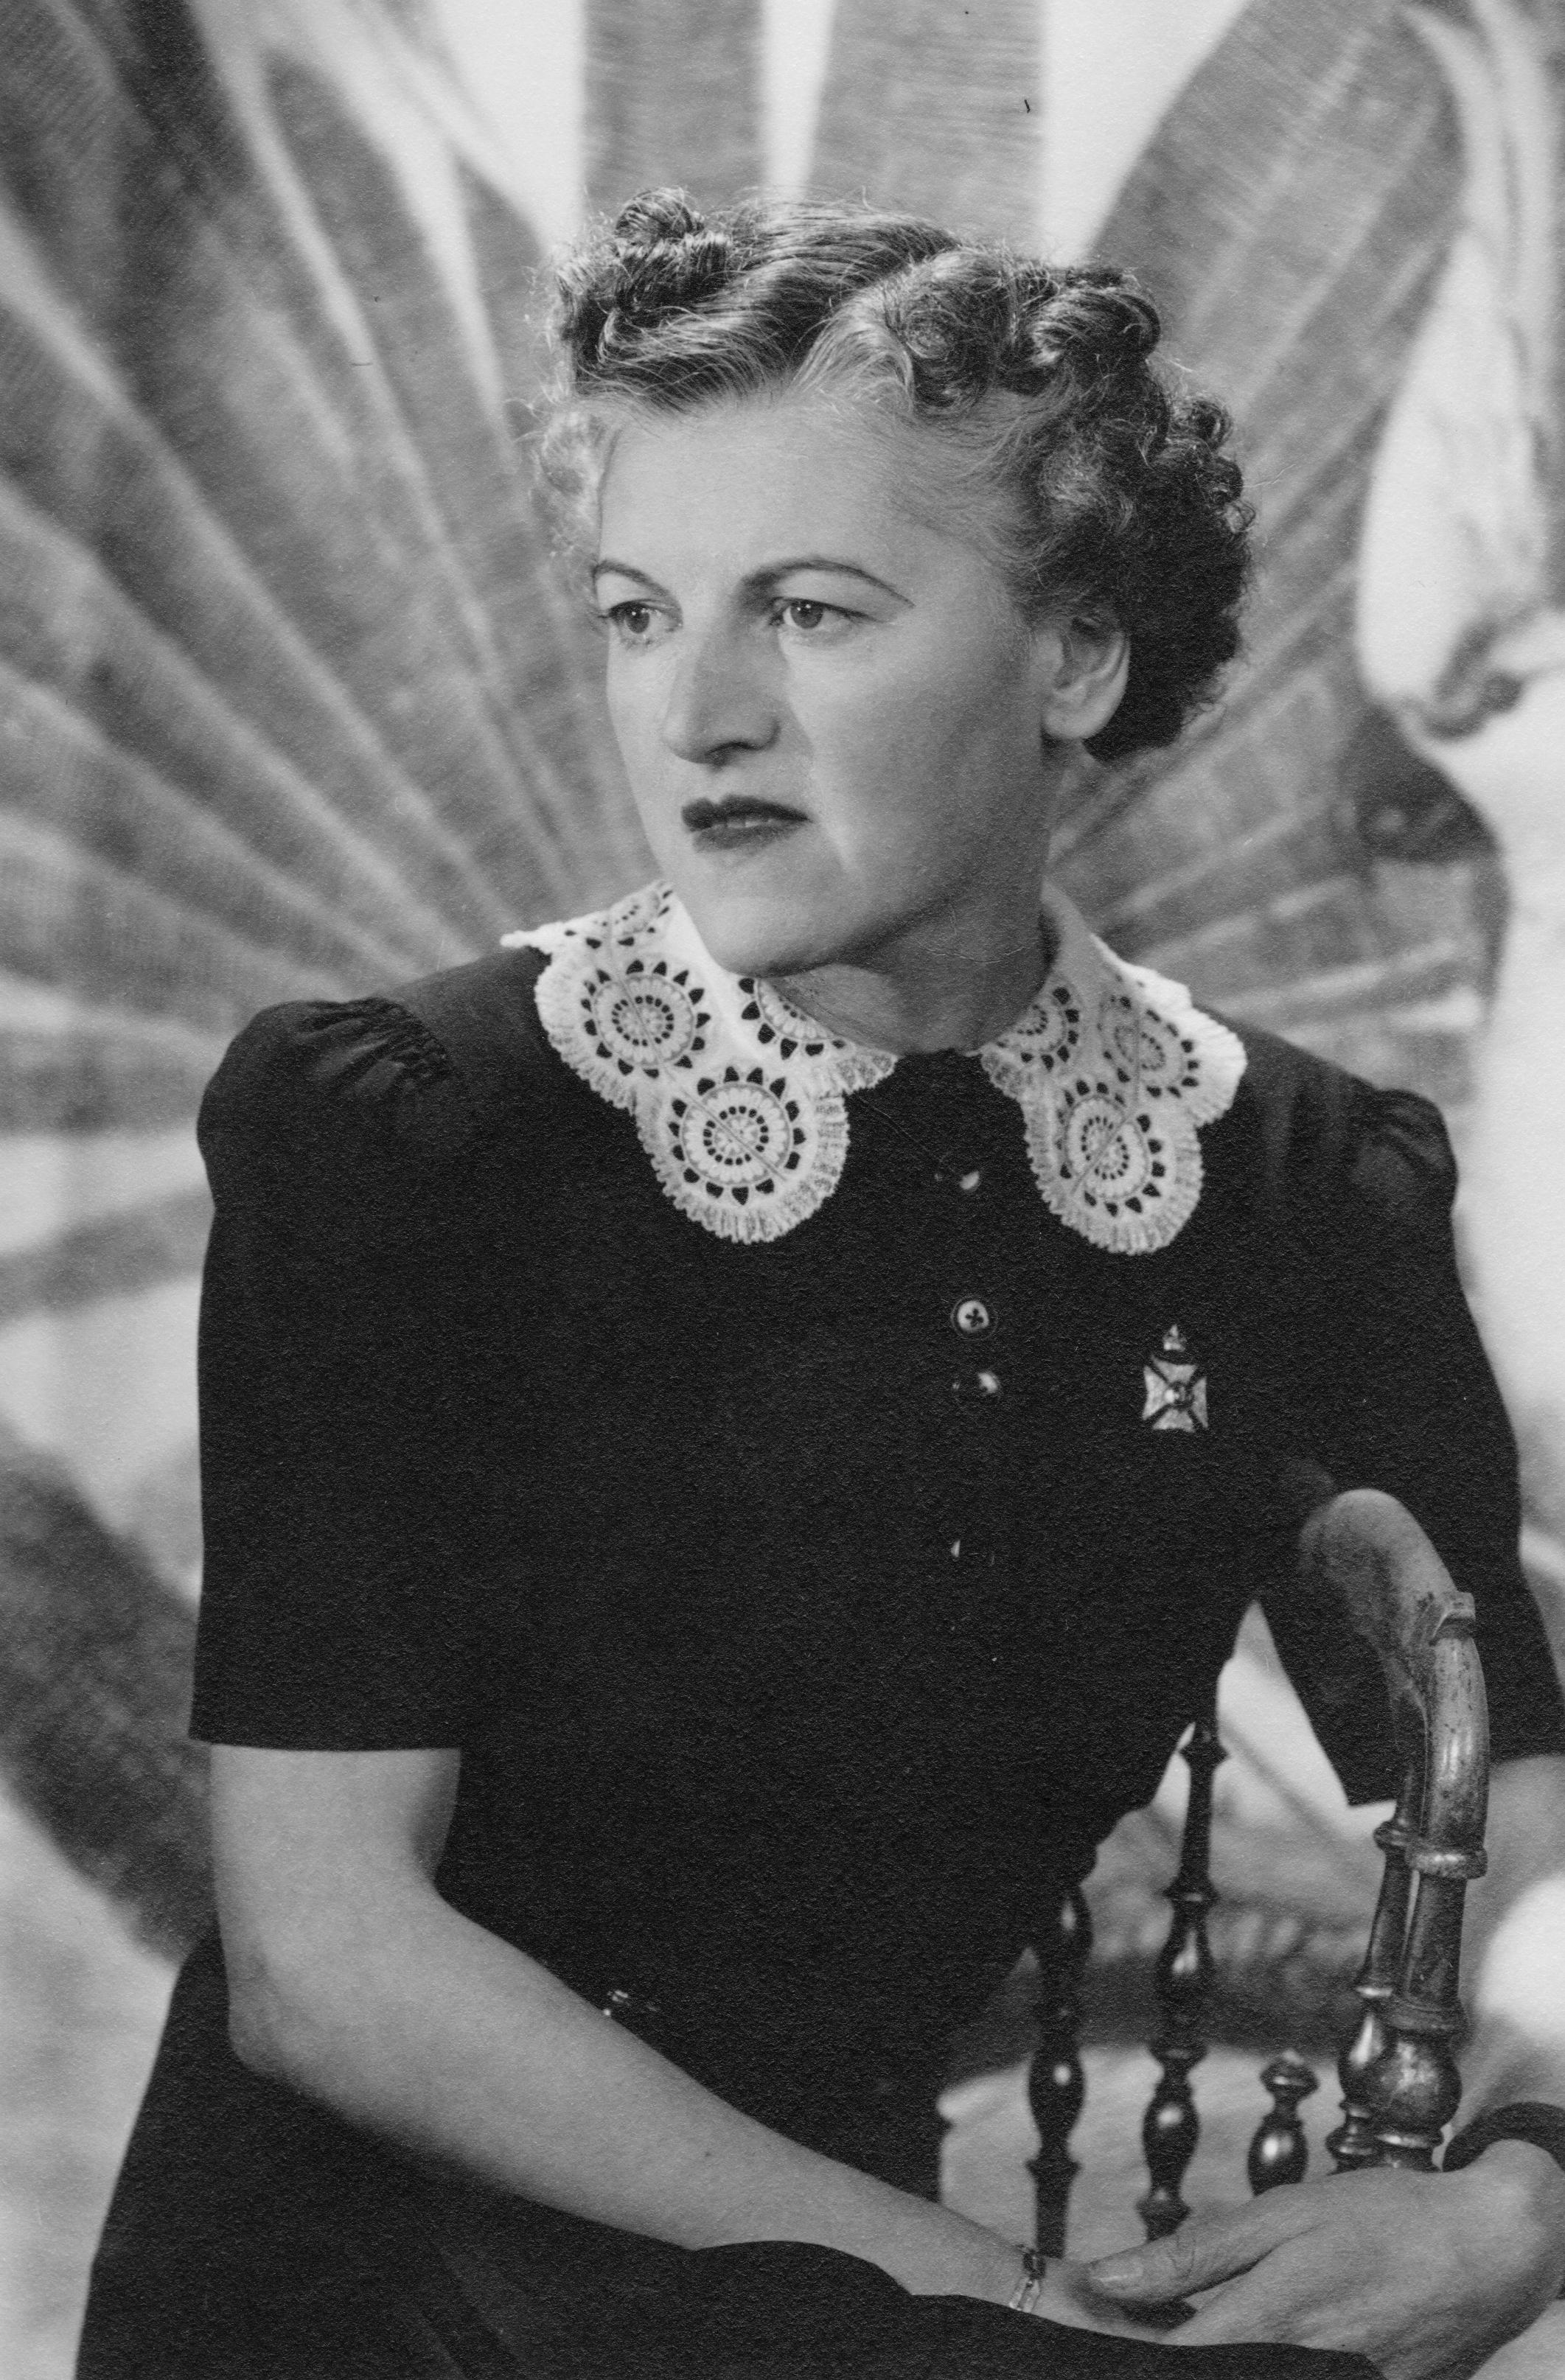
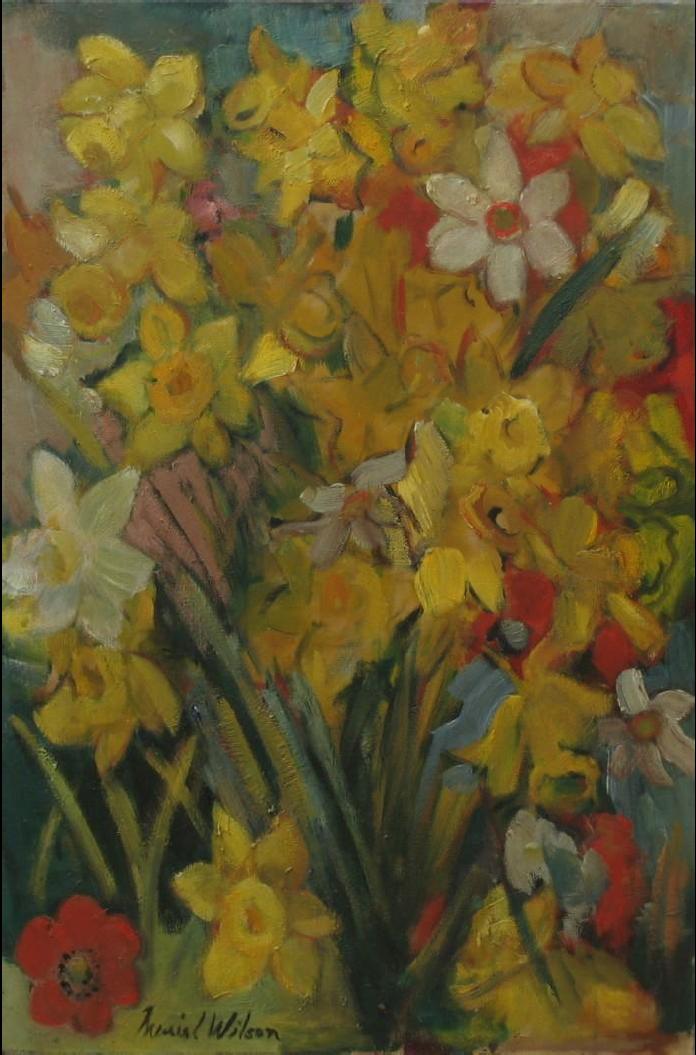
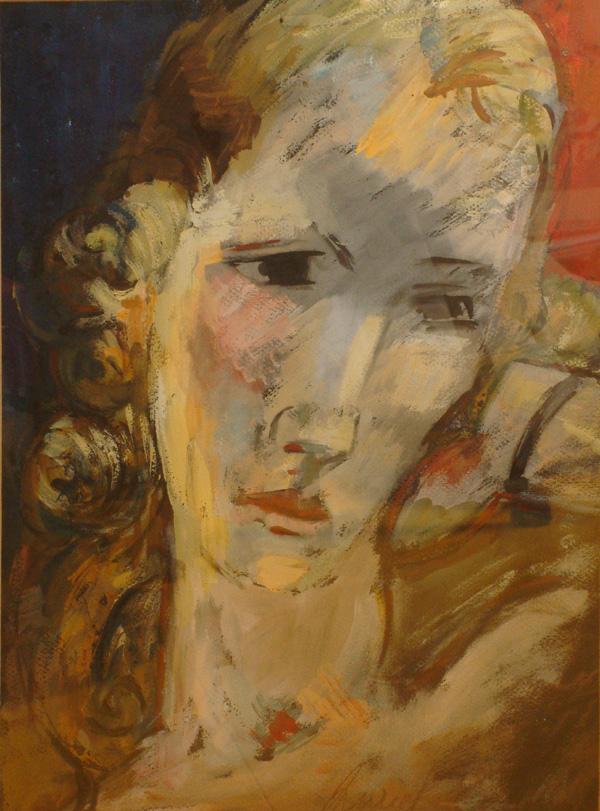
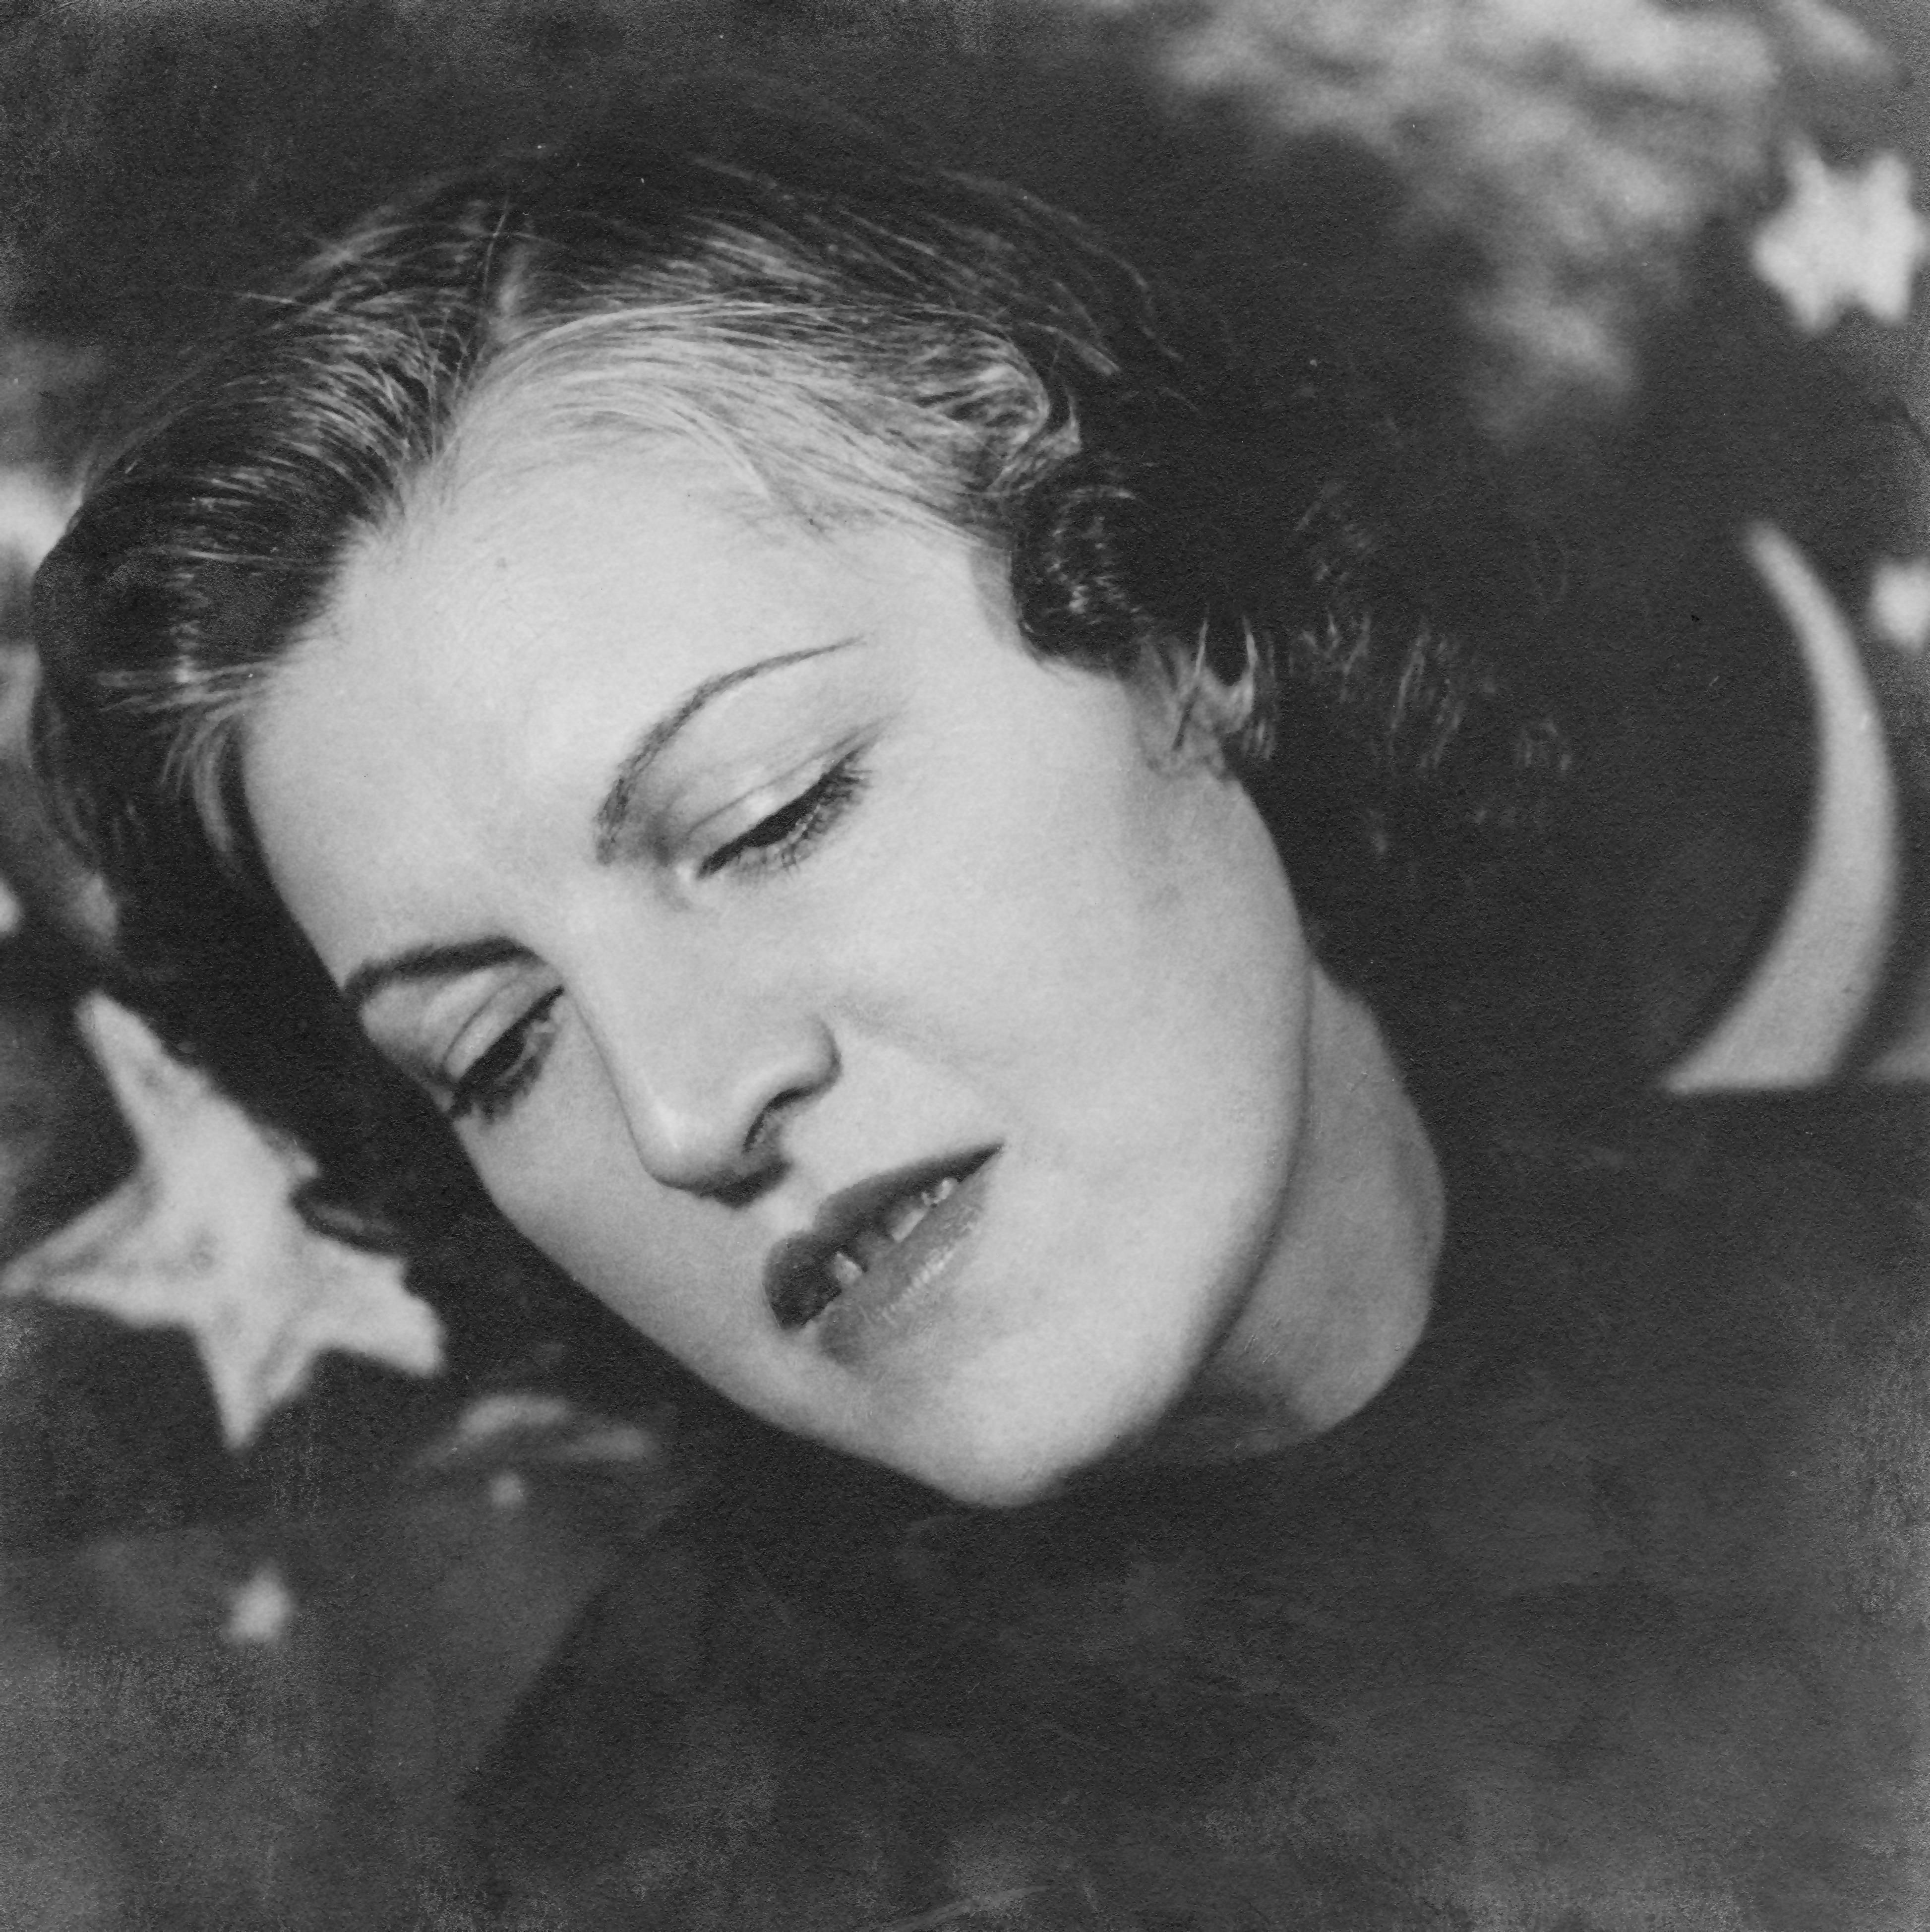
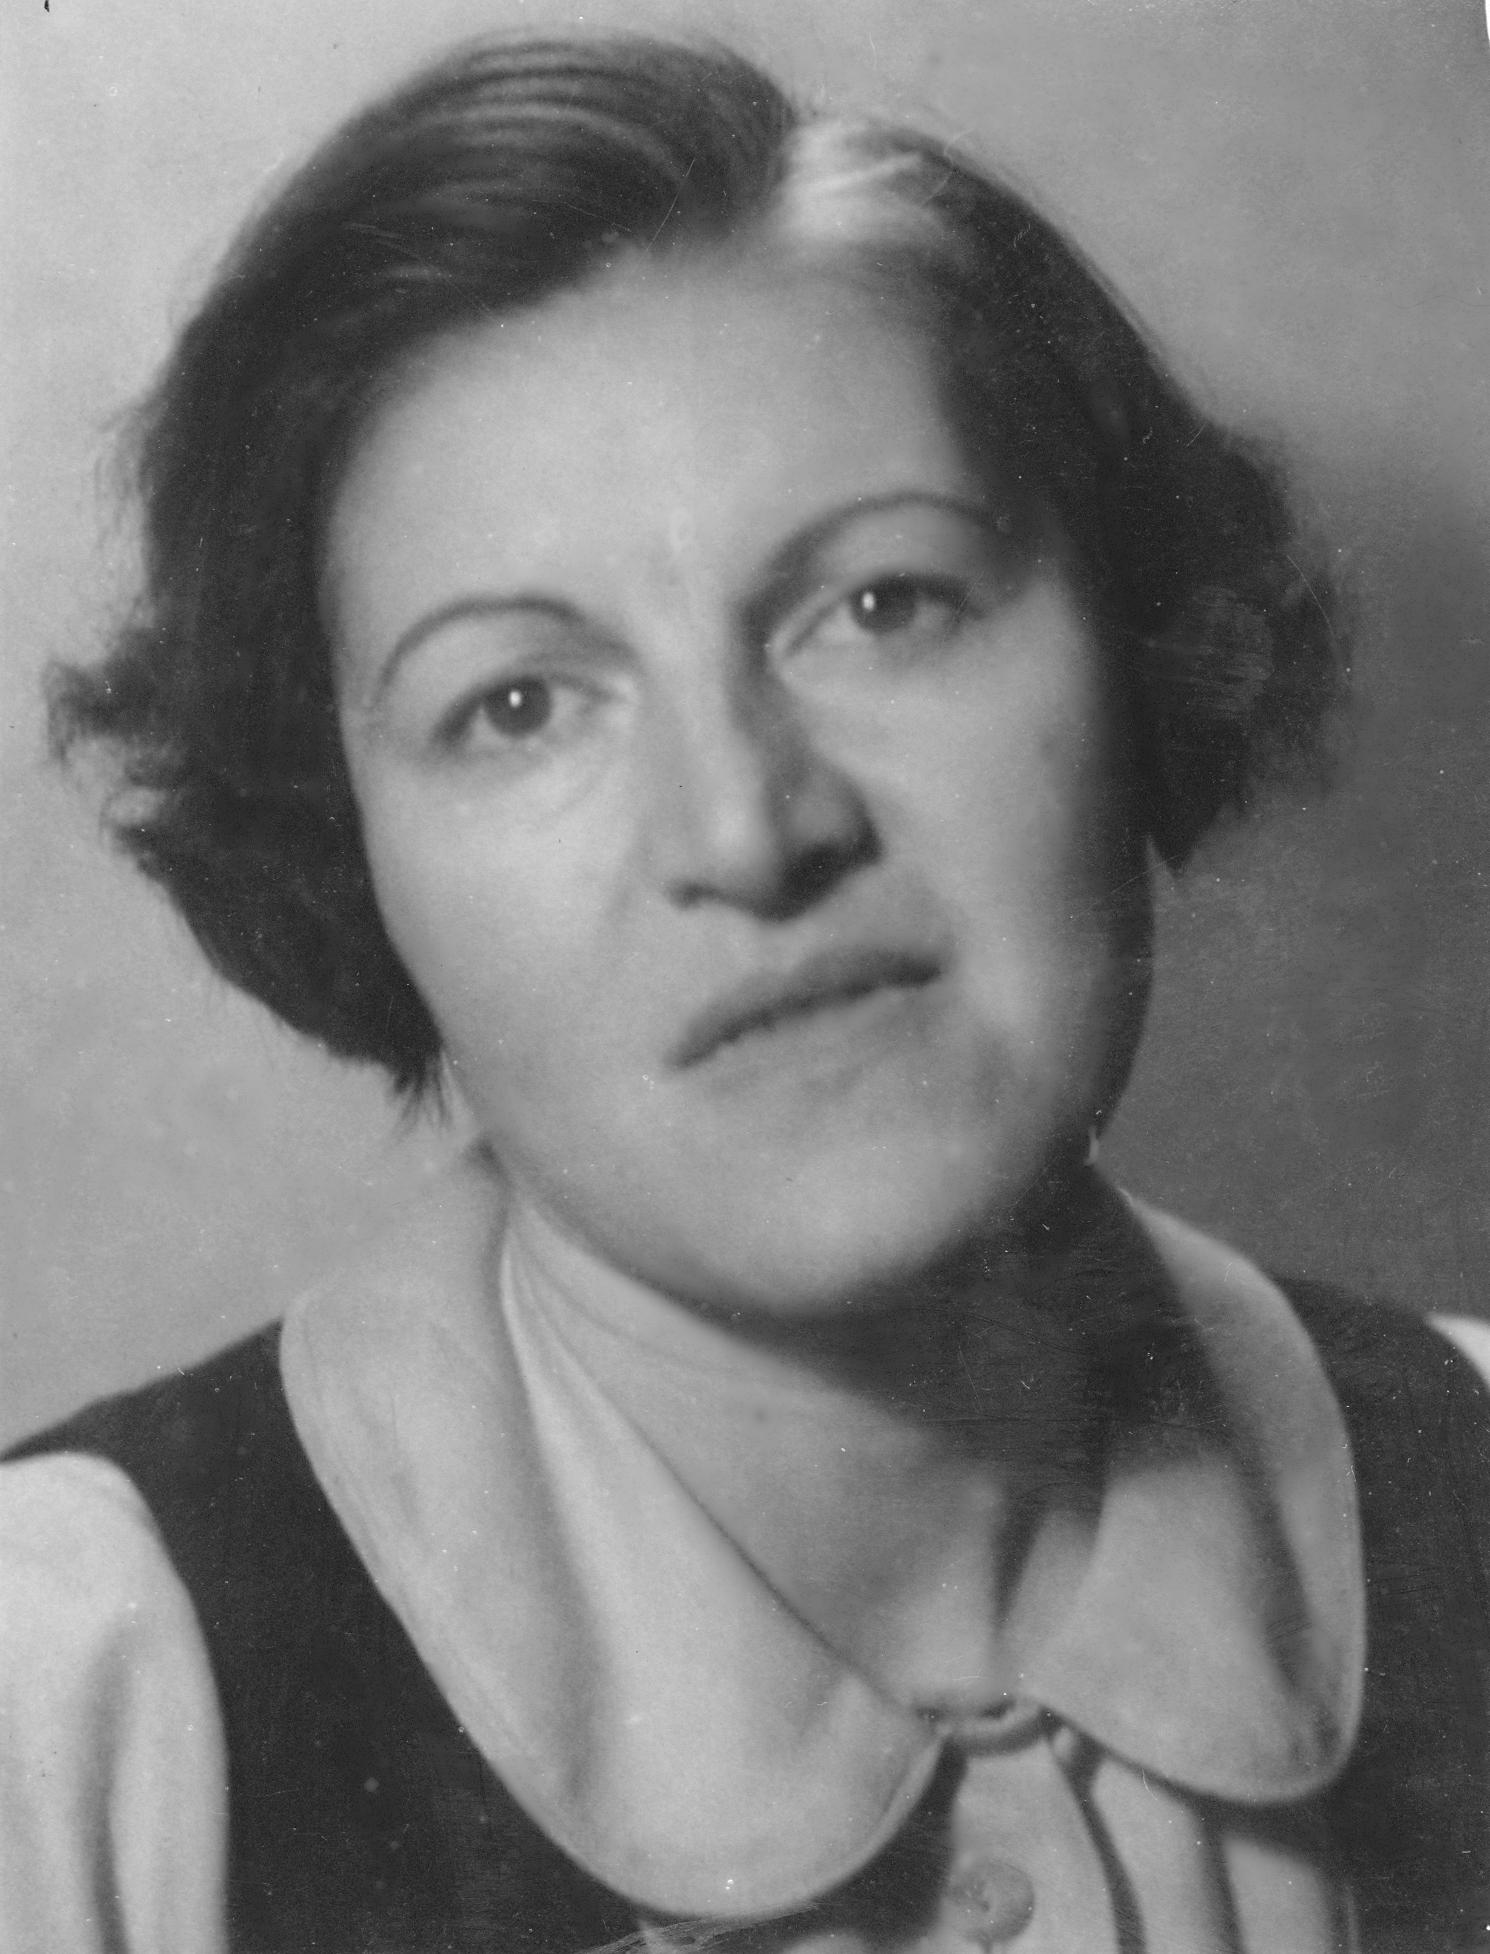
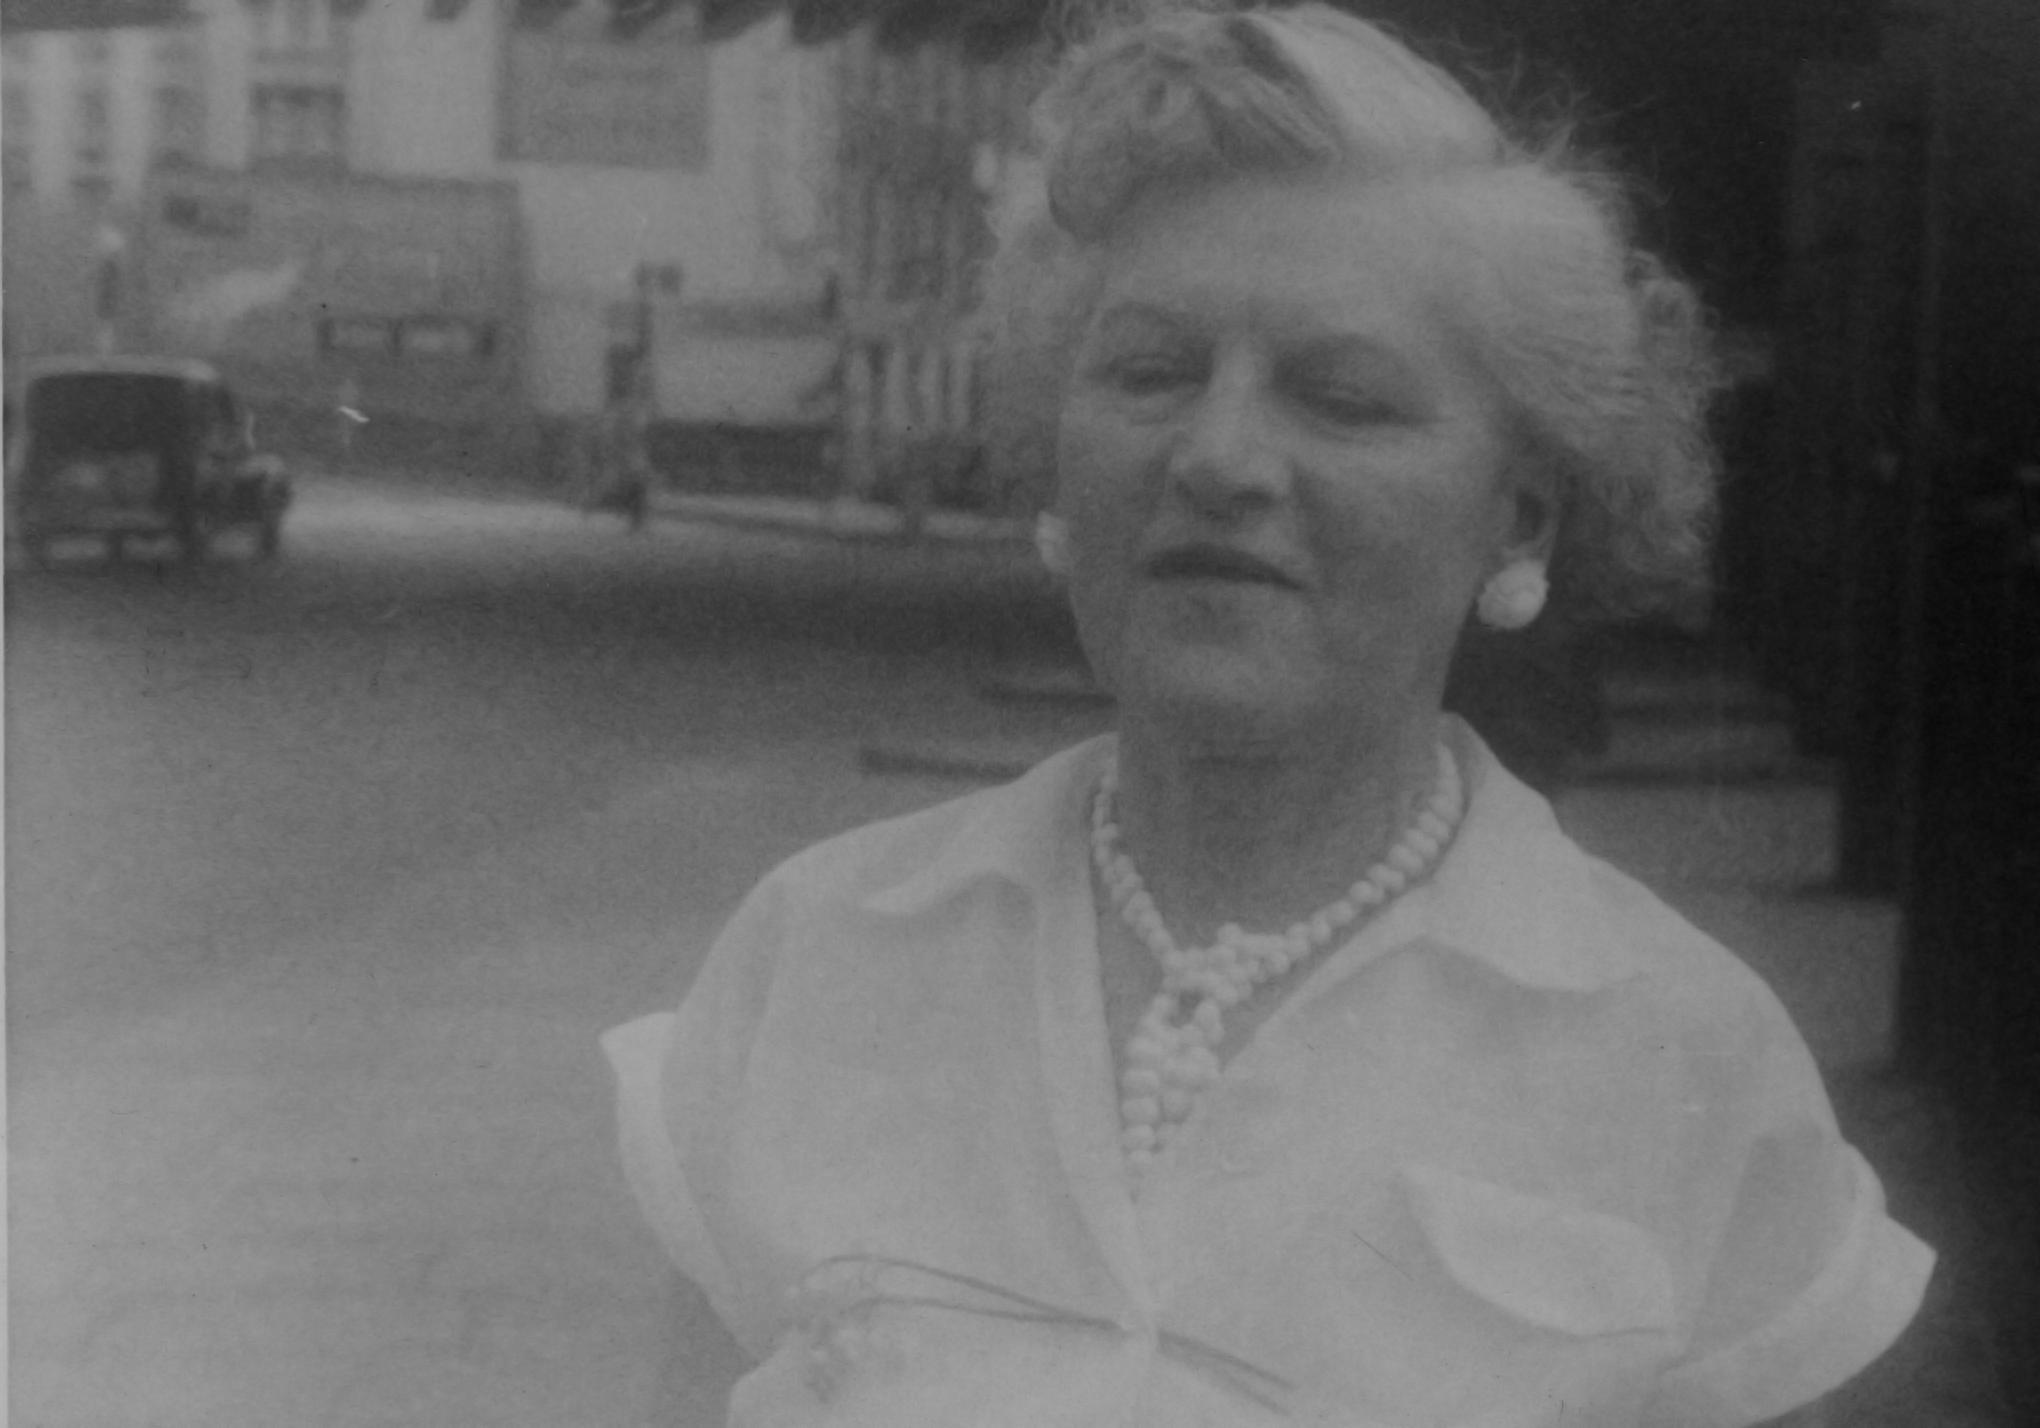
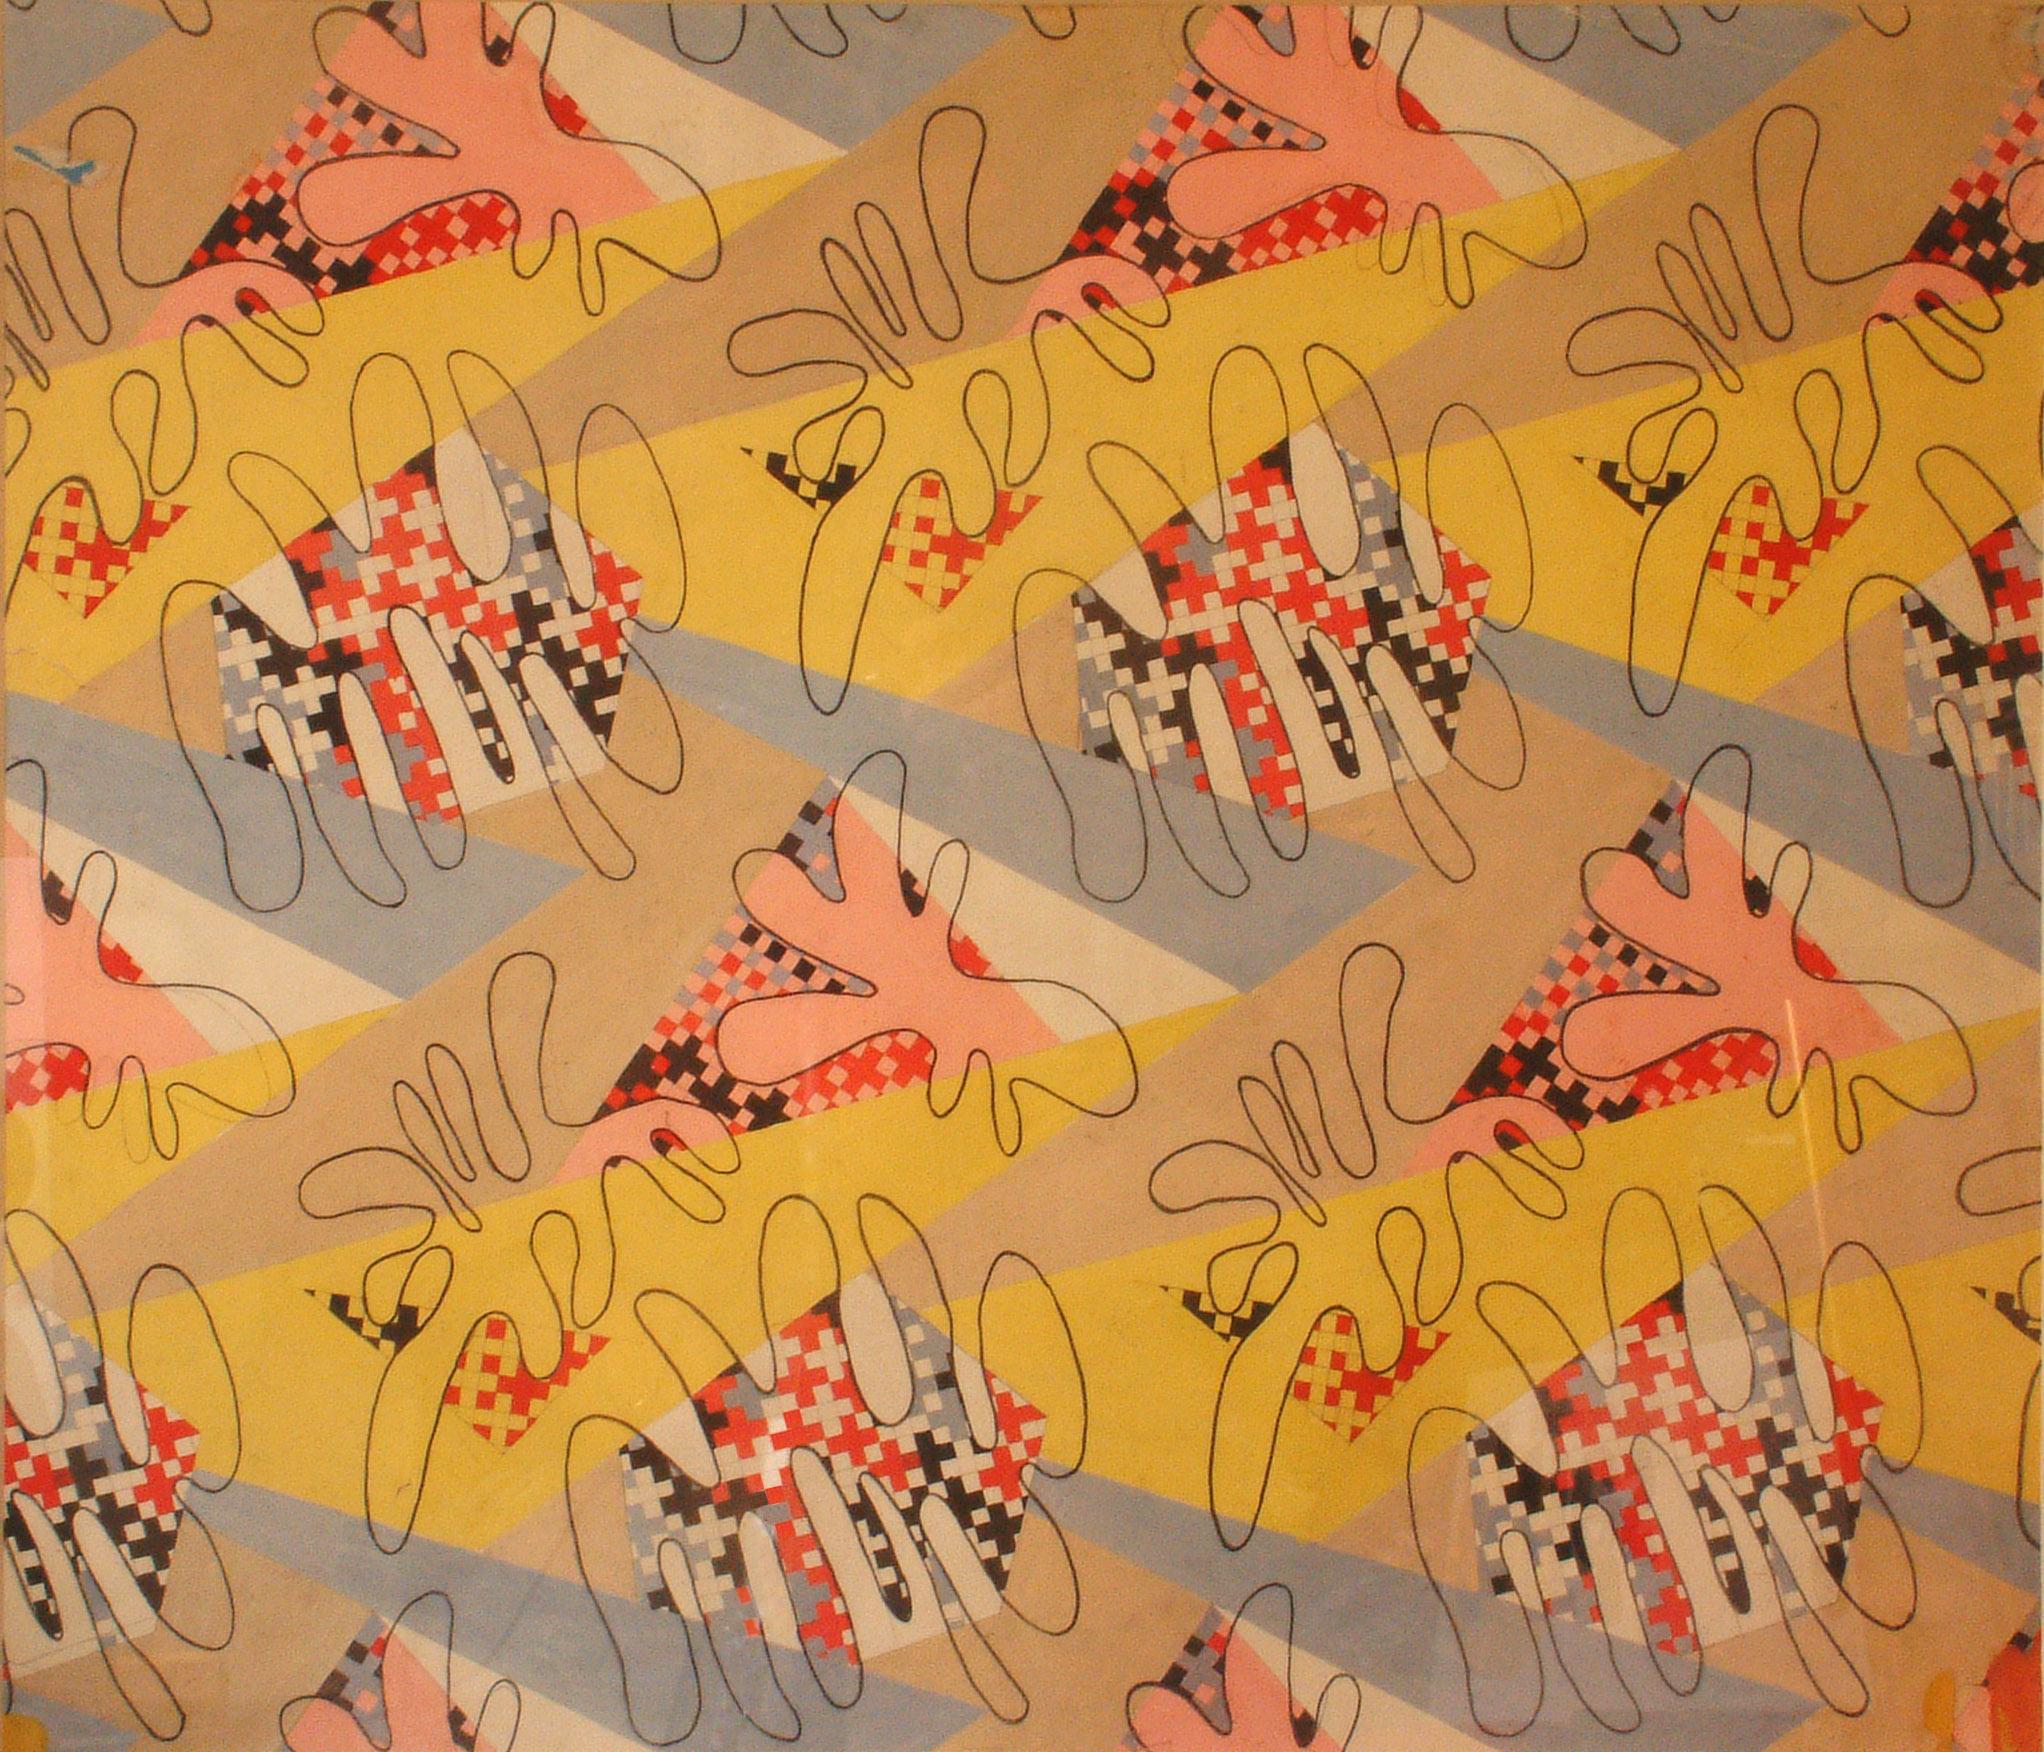
2. Muriel Gertrude SAMUELSON, daughter of Francis Arthur Edward SAMUELSON Bart. and Fanny Isabel WRIGHT, was an Artist. She married Bassett Fitzgerald WILSON on 24 April 1915. She died in October 1977.
Bassett Fitzgerald WILSON, son of Maurice Fitzgerald WILSON (1858-1945) and Florence May BADNALL (1858-1941), was born on 1 September 1888 in St. Ives, Cornwall. He was a Soldier, artist. He was buried circa 1941. He died circa May 1972. He and Muriel Gertrude SAMUELSON had the following children:
| +5 |
3. Francis Henry Bernhard SAMUELSON, son of Francis Arthur Edward SAMUELSON Bart. and Fanny Isabel WRIGHT, was born on 22 February 1890.
4. Phyllis Mary SAMUELSON was the daughter of Francis Arthur Edward SAMUELSON Bart. and Fanny Isabel WRIGHT.
Third Generation
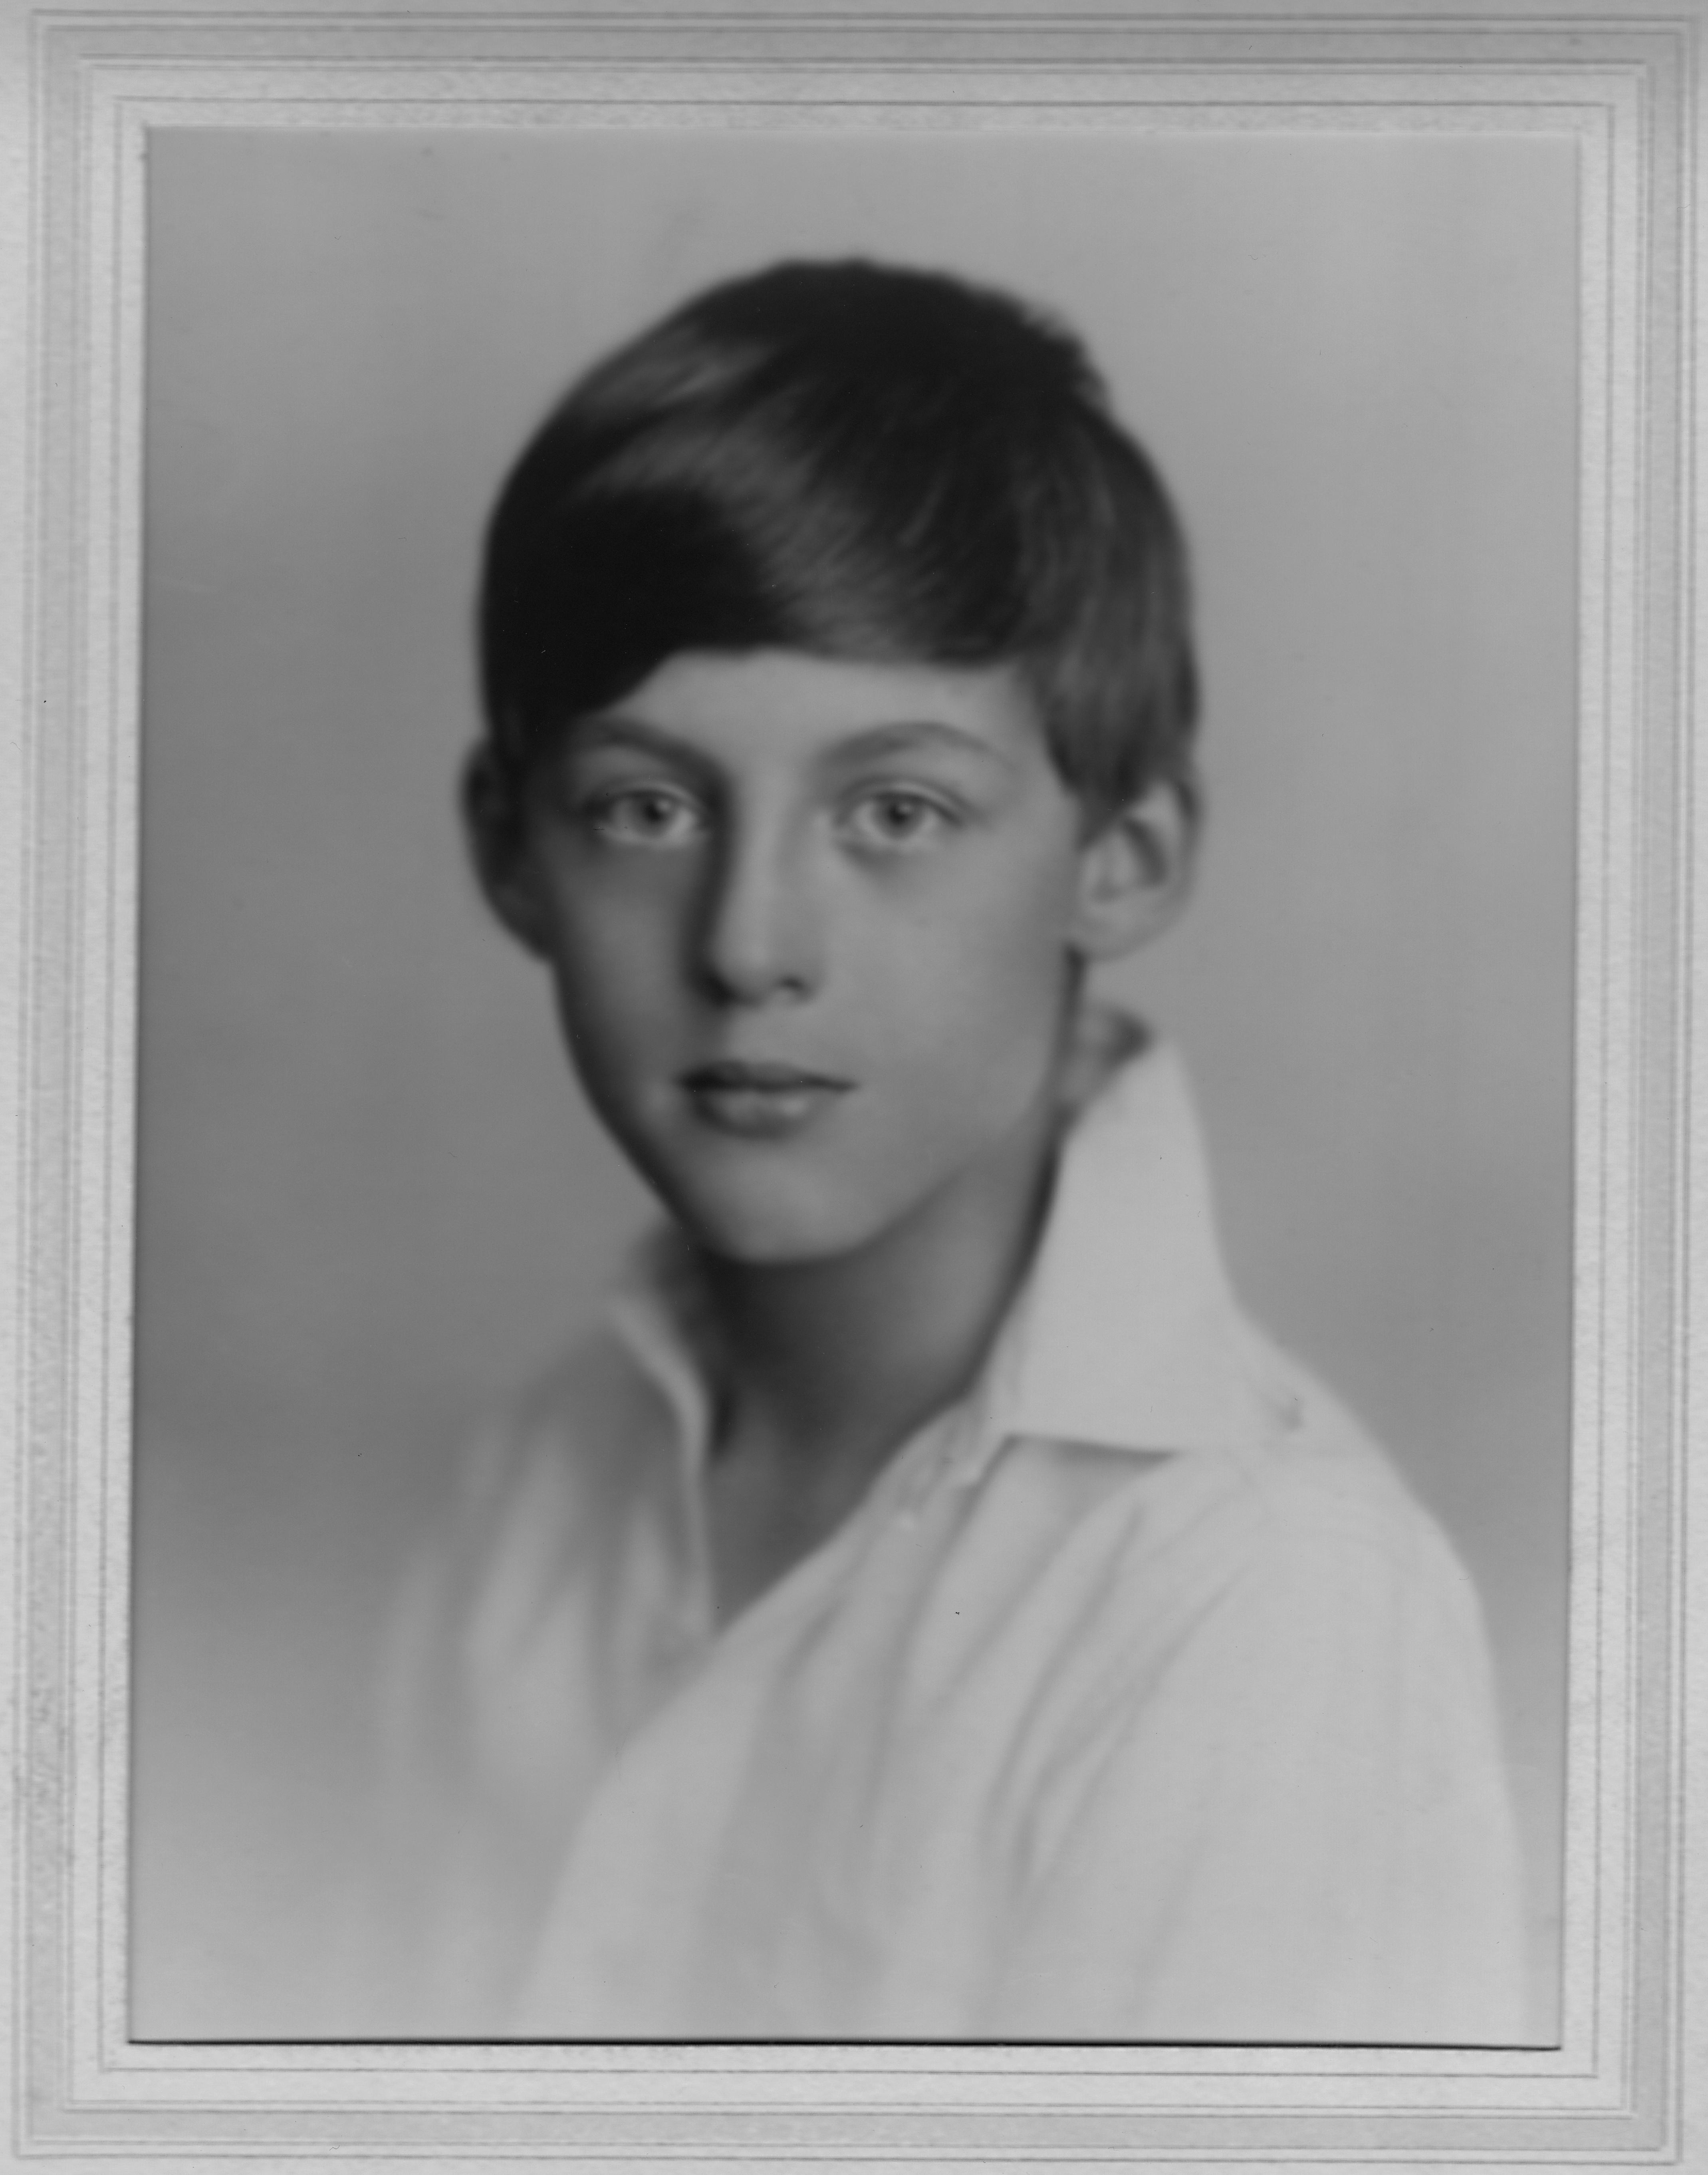

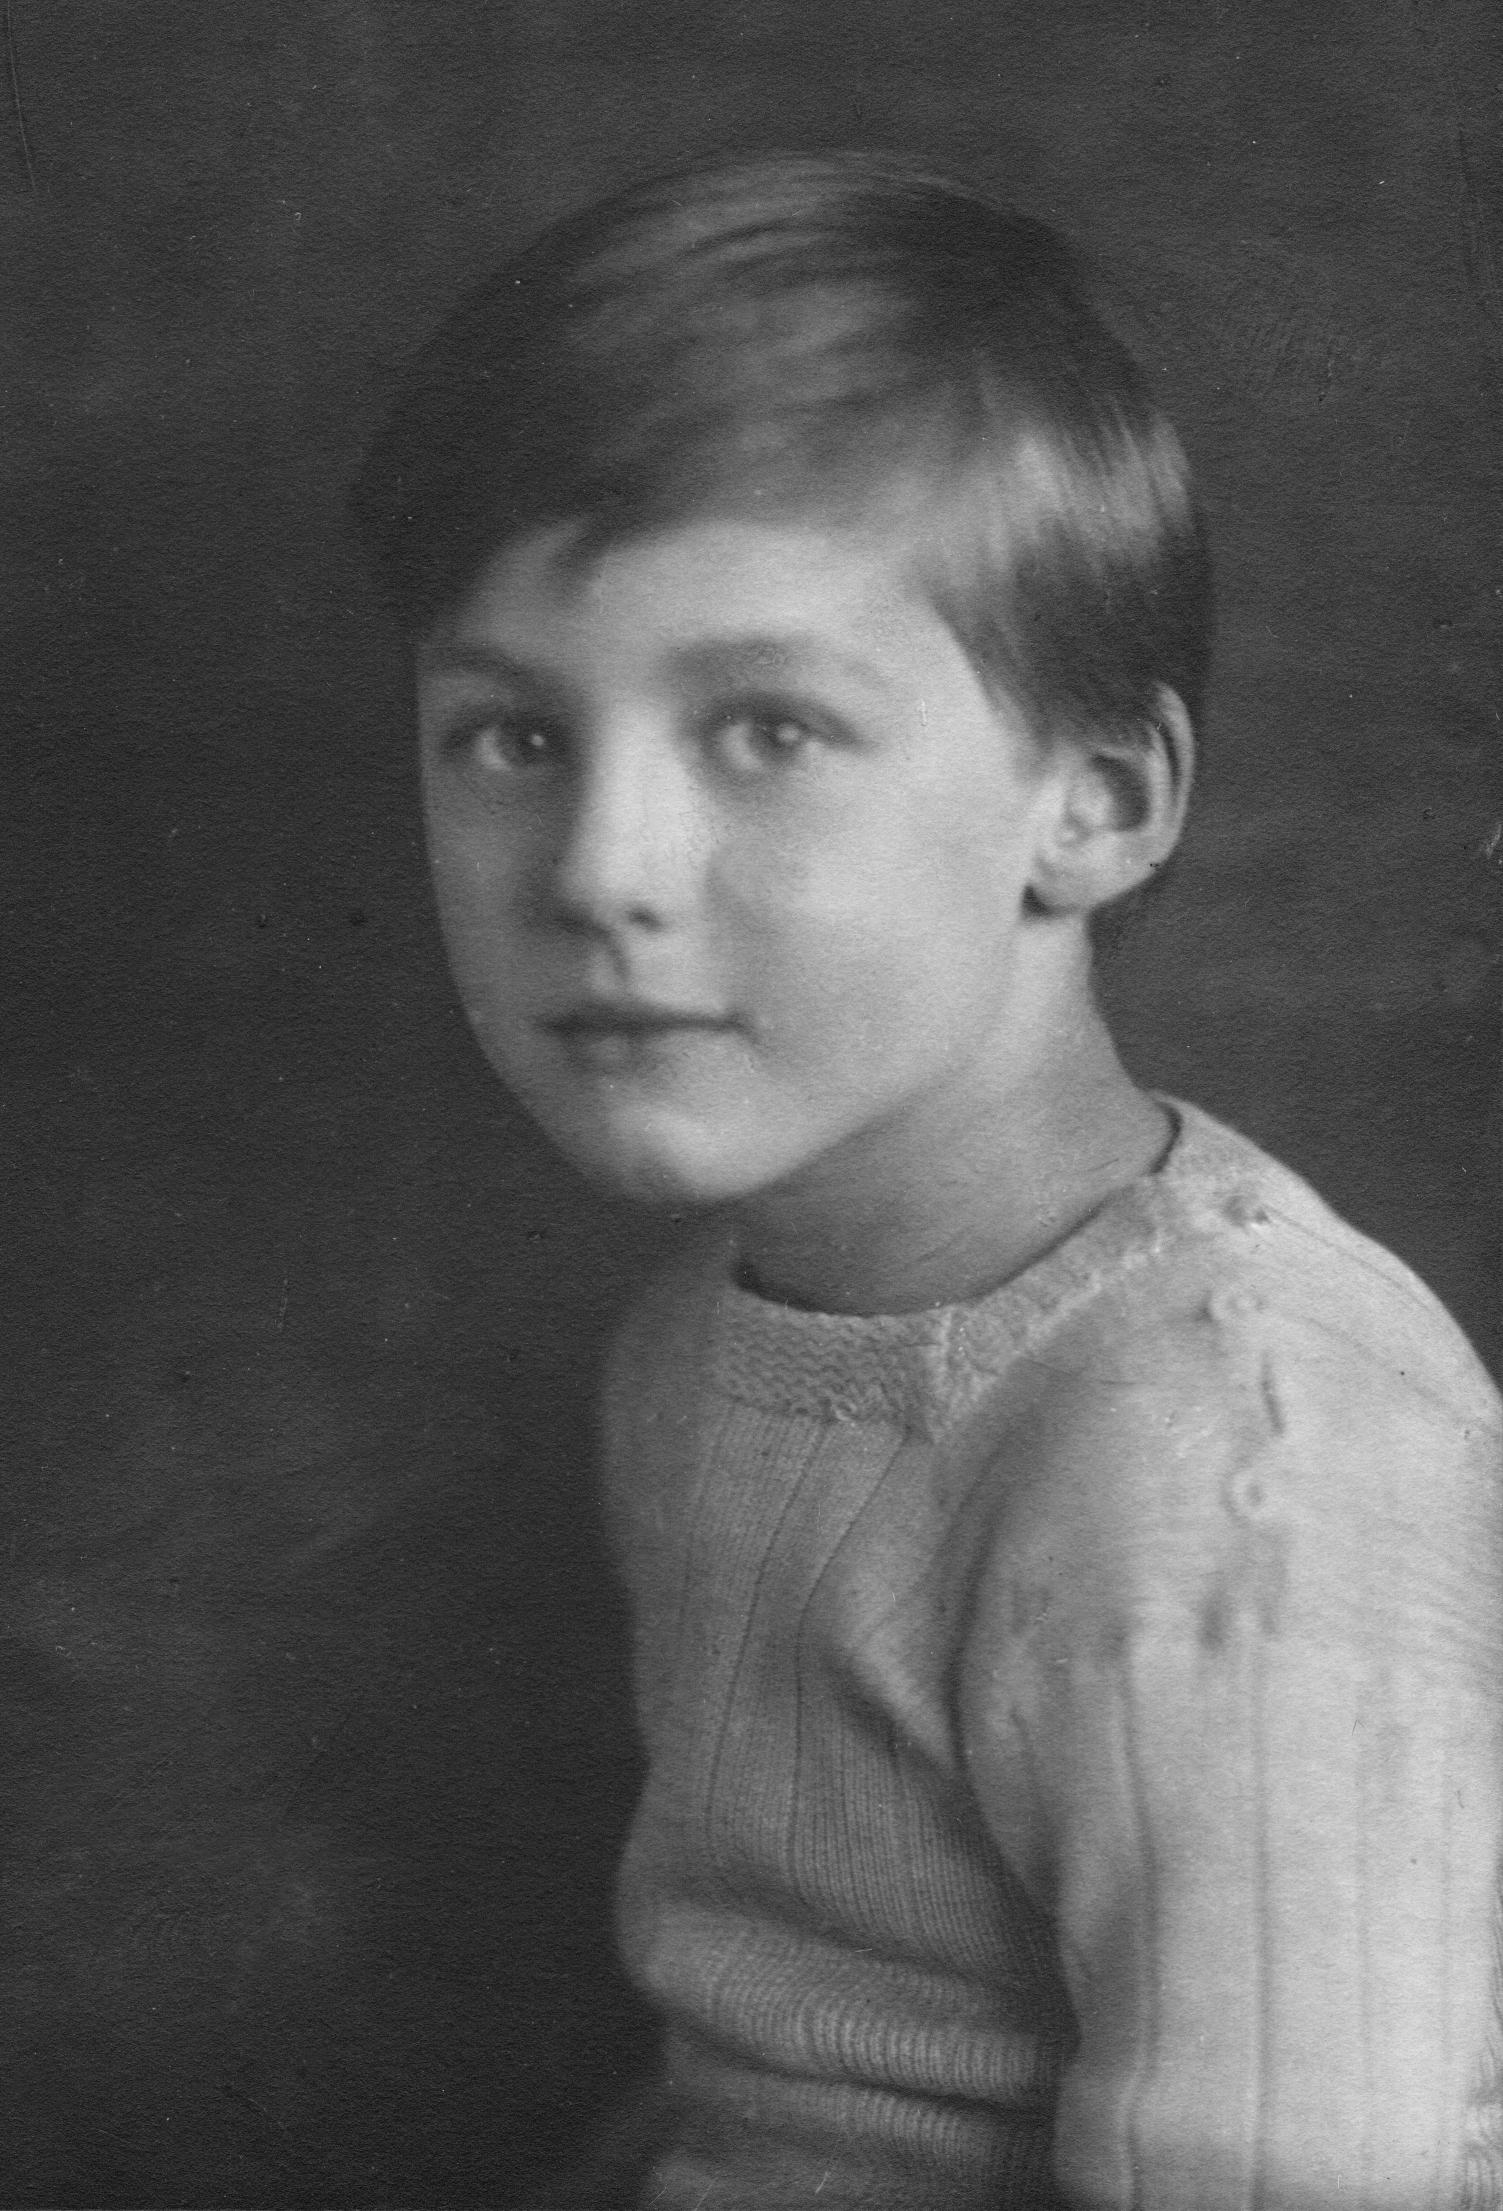
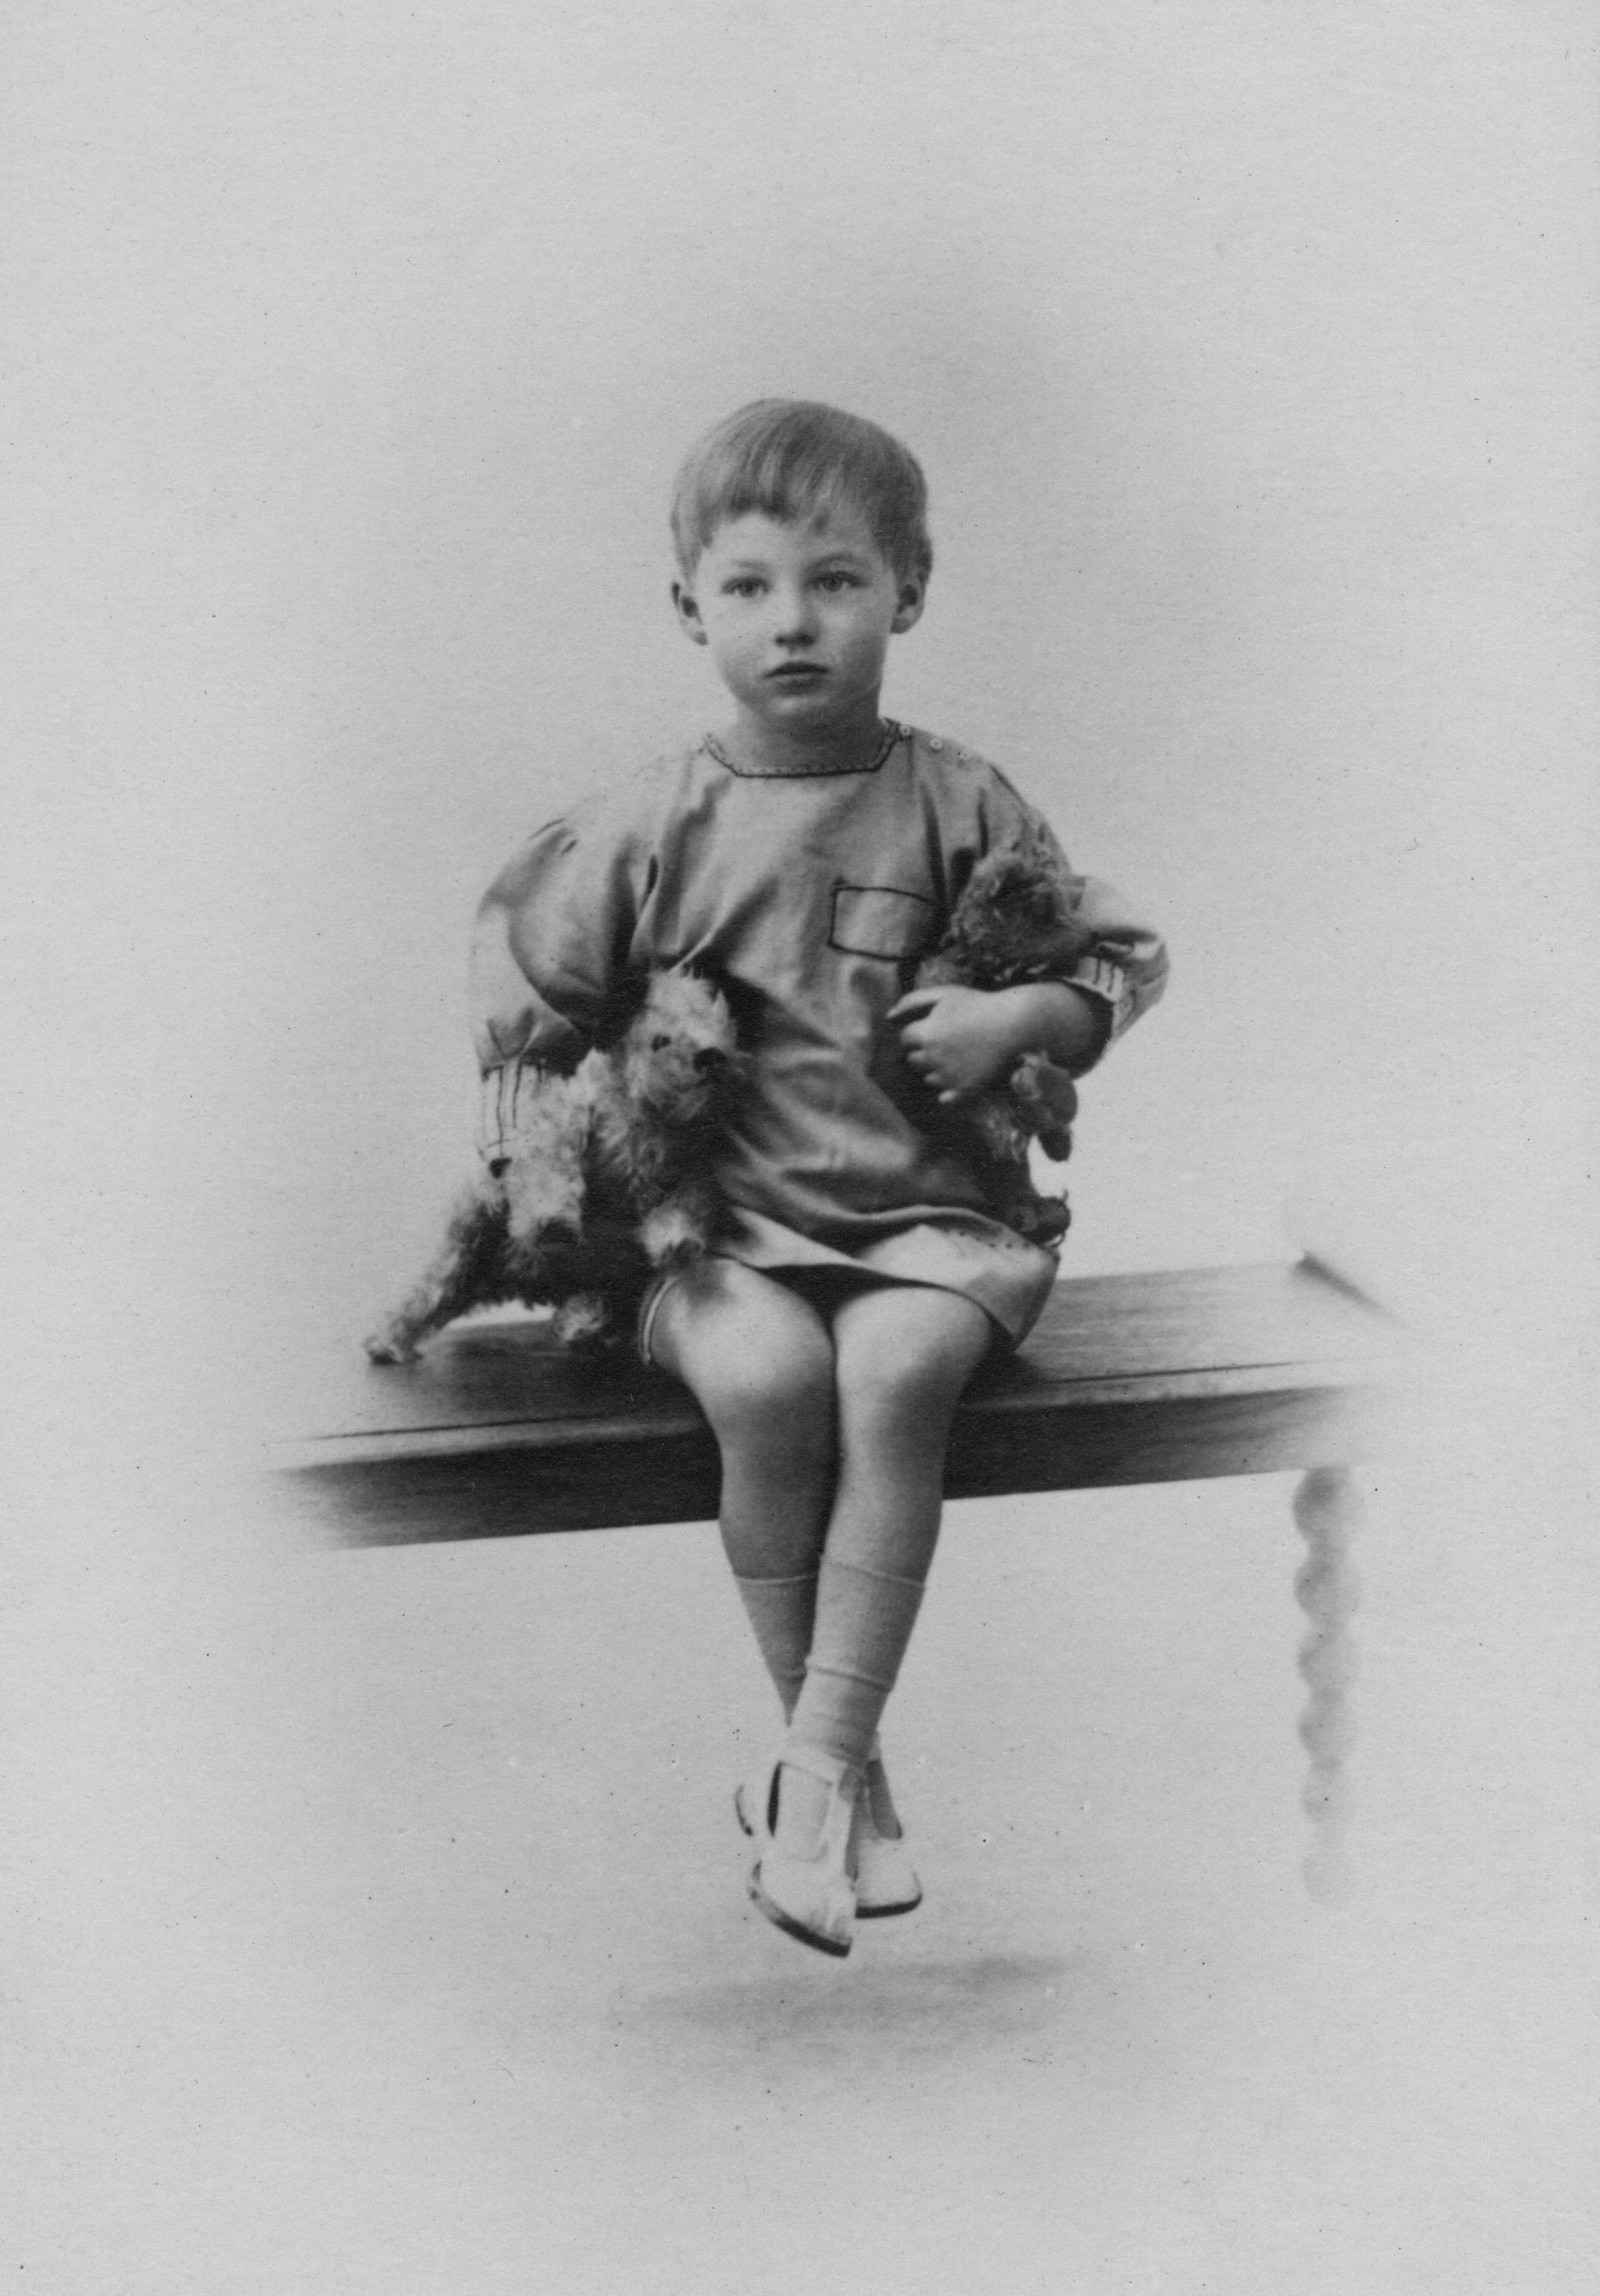
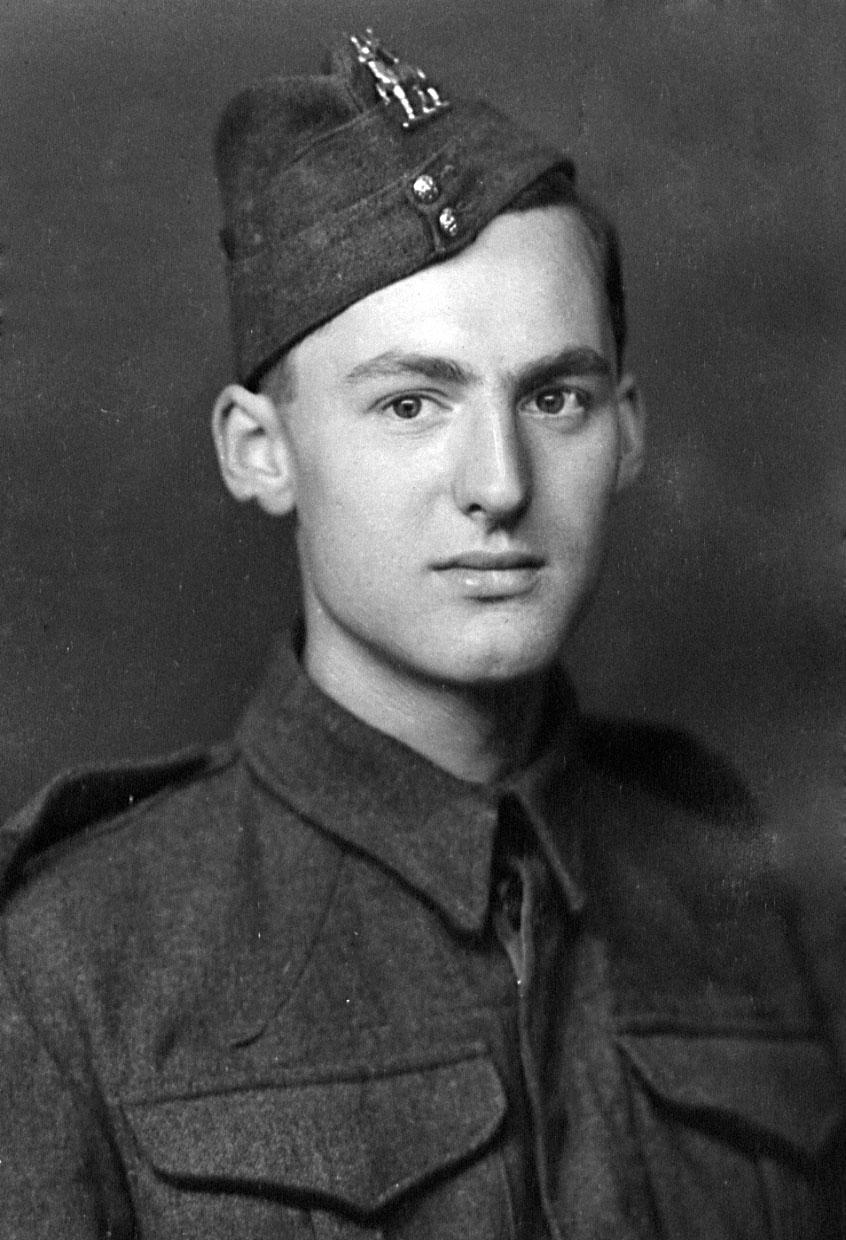


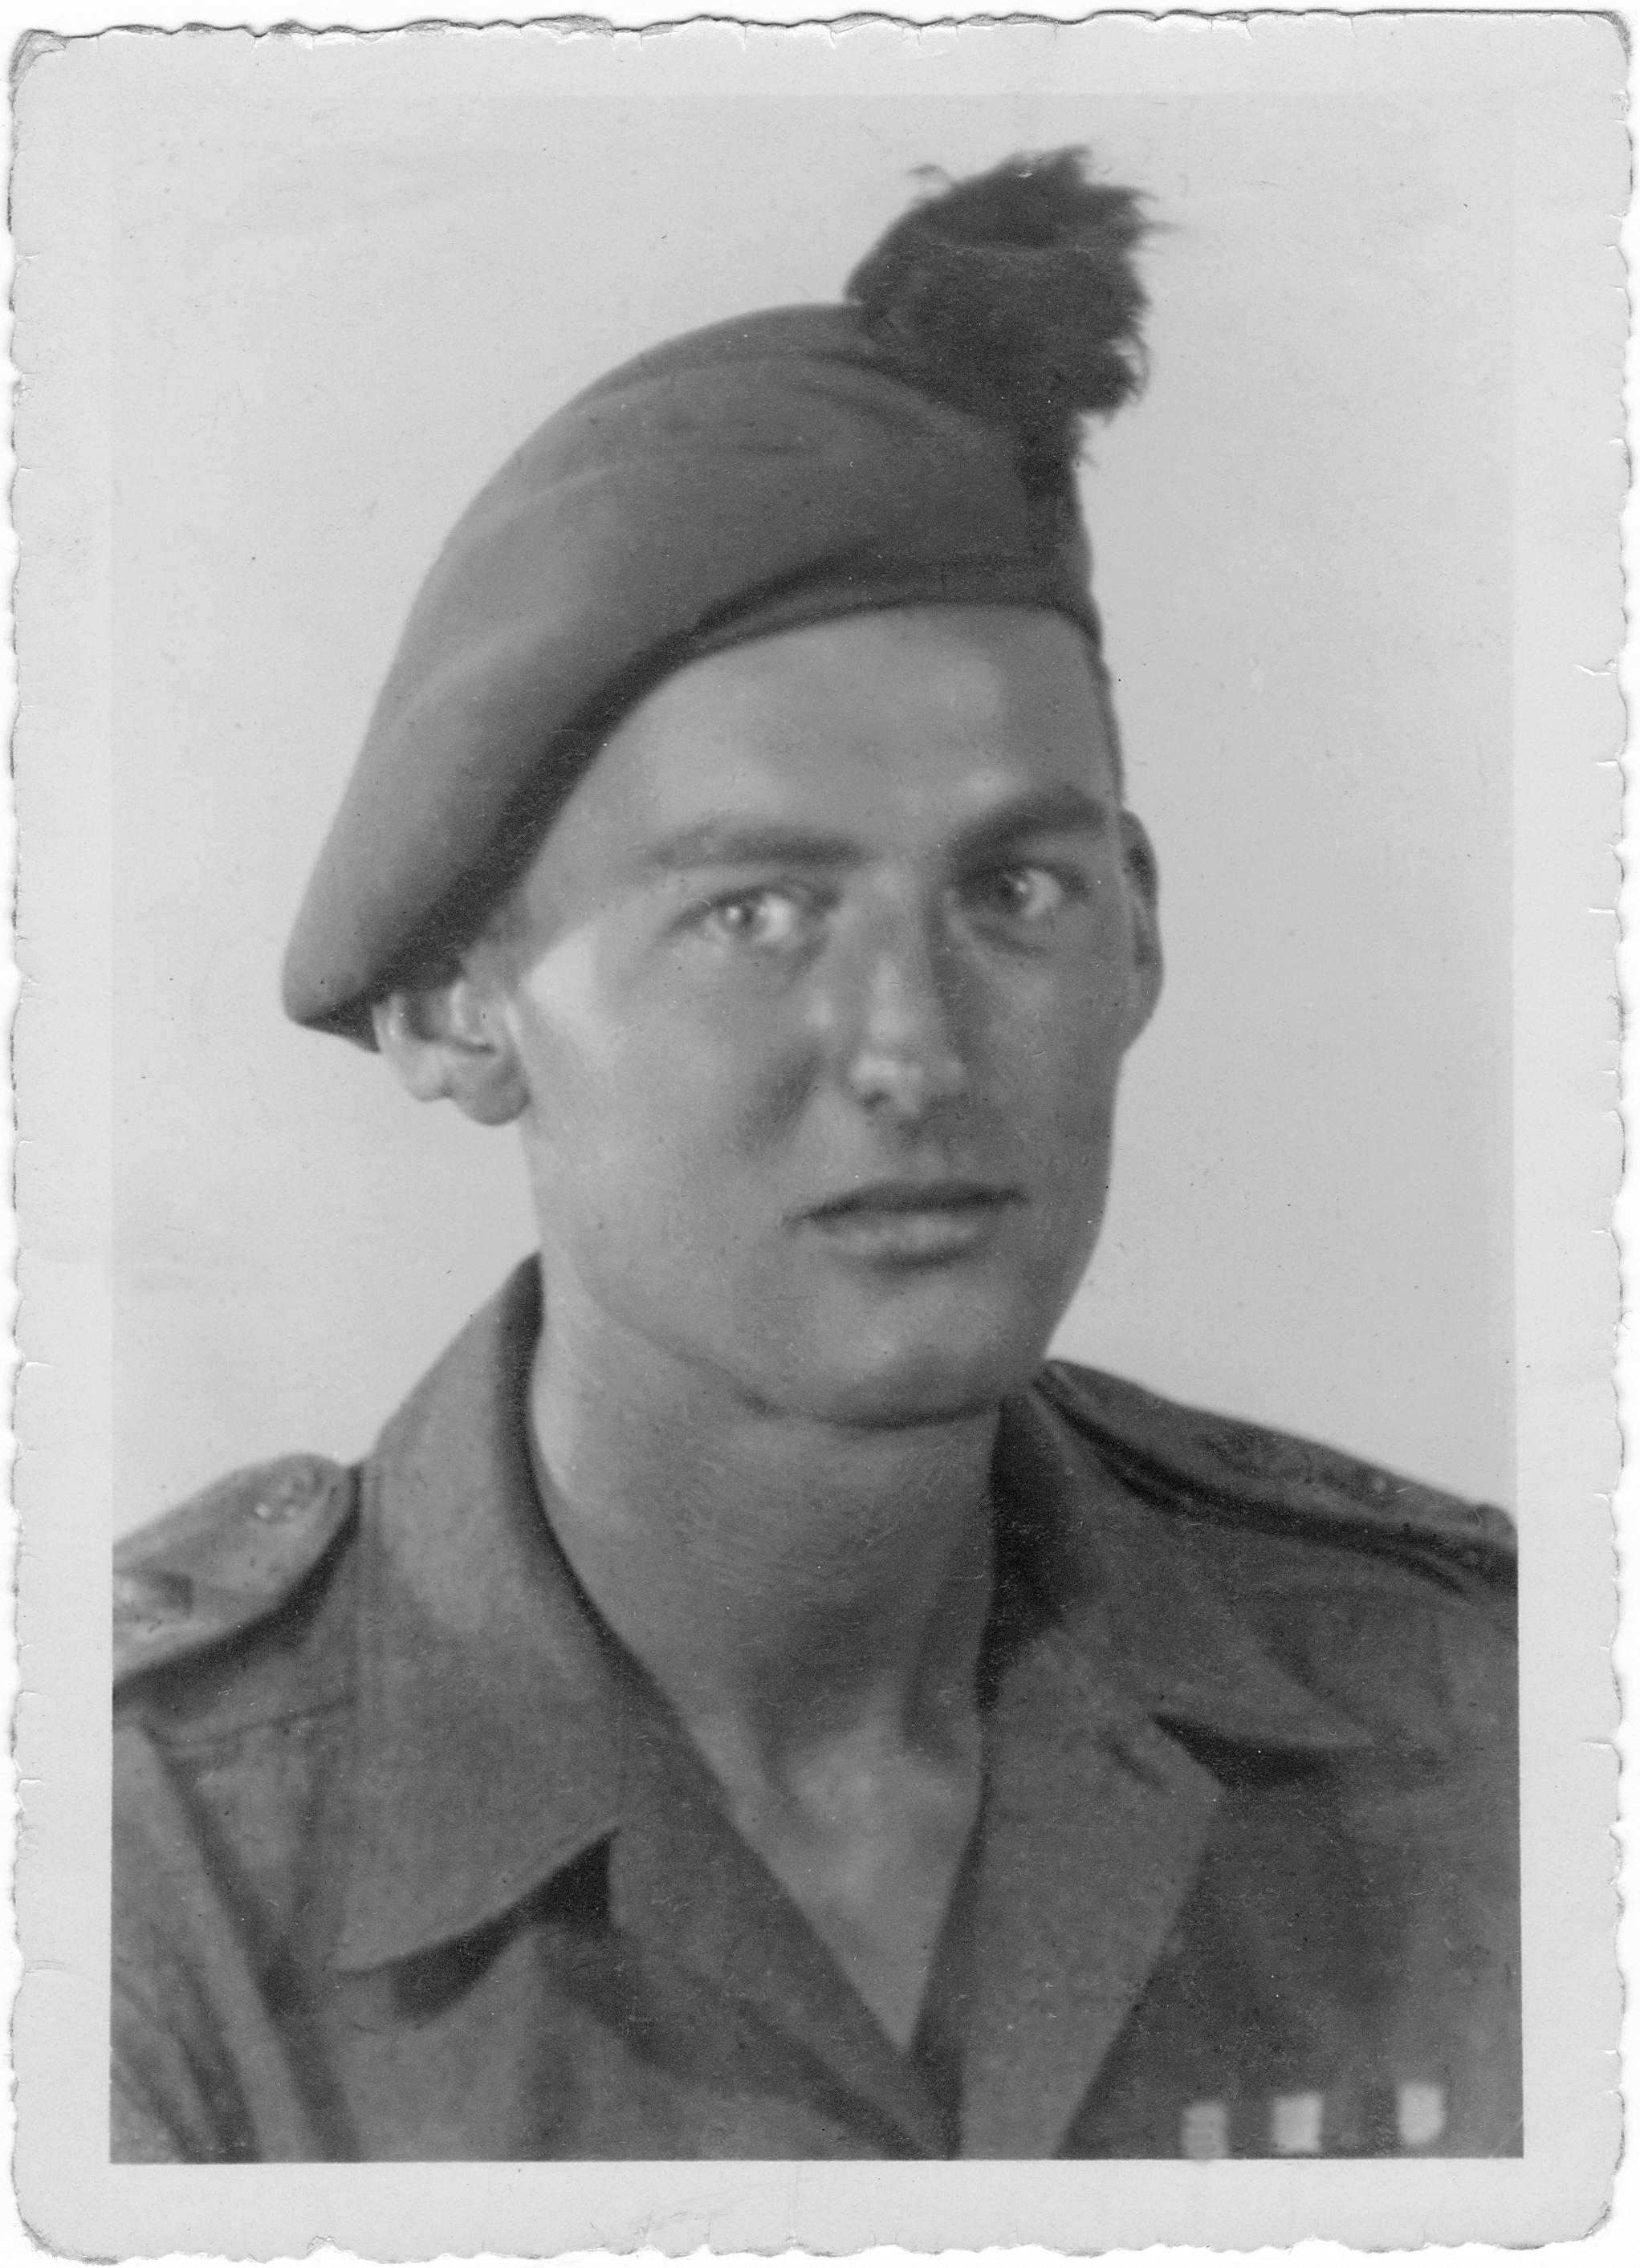
5. Paul Francis BASSETT-WILSON, child of Bassett Fitzgerald WILSON and Muriel Gertrude SAMUELSON, was born circa 1921. He/she died on 2 April 1945. He/she was buried in Ravenna War Cemetery IB 12.
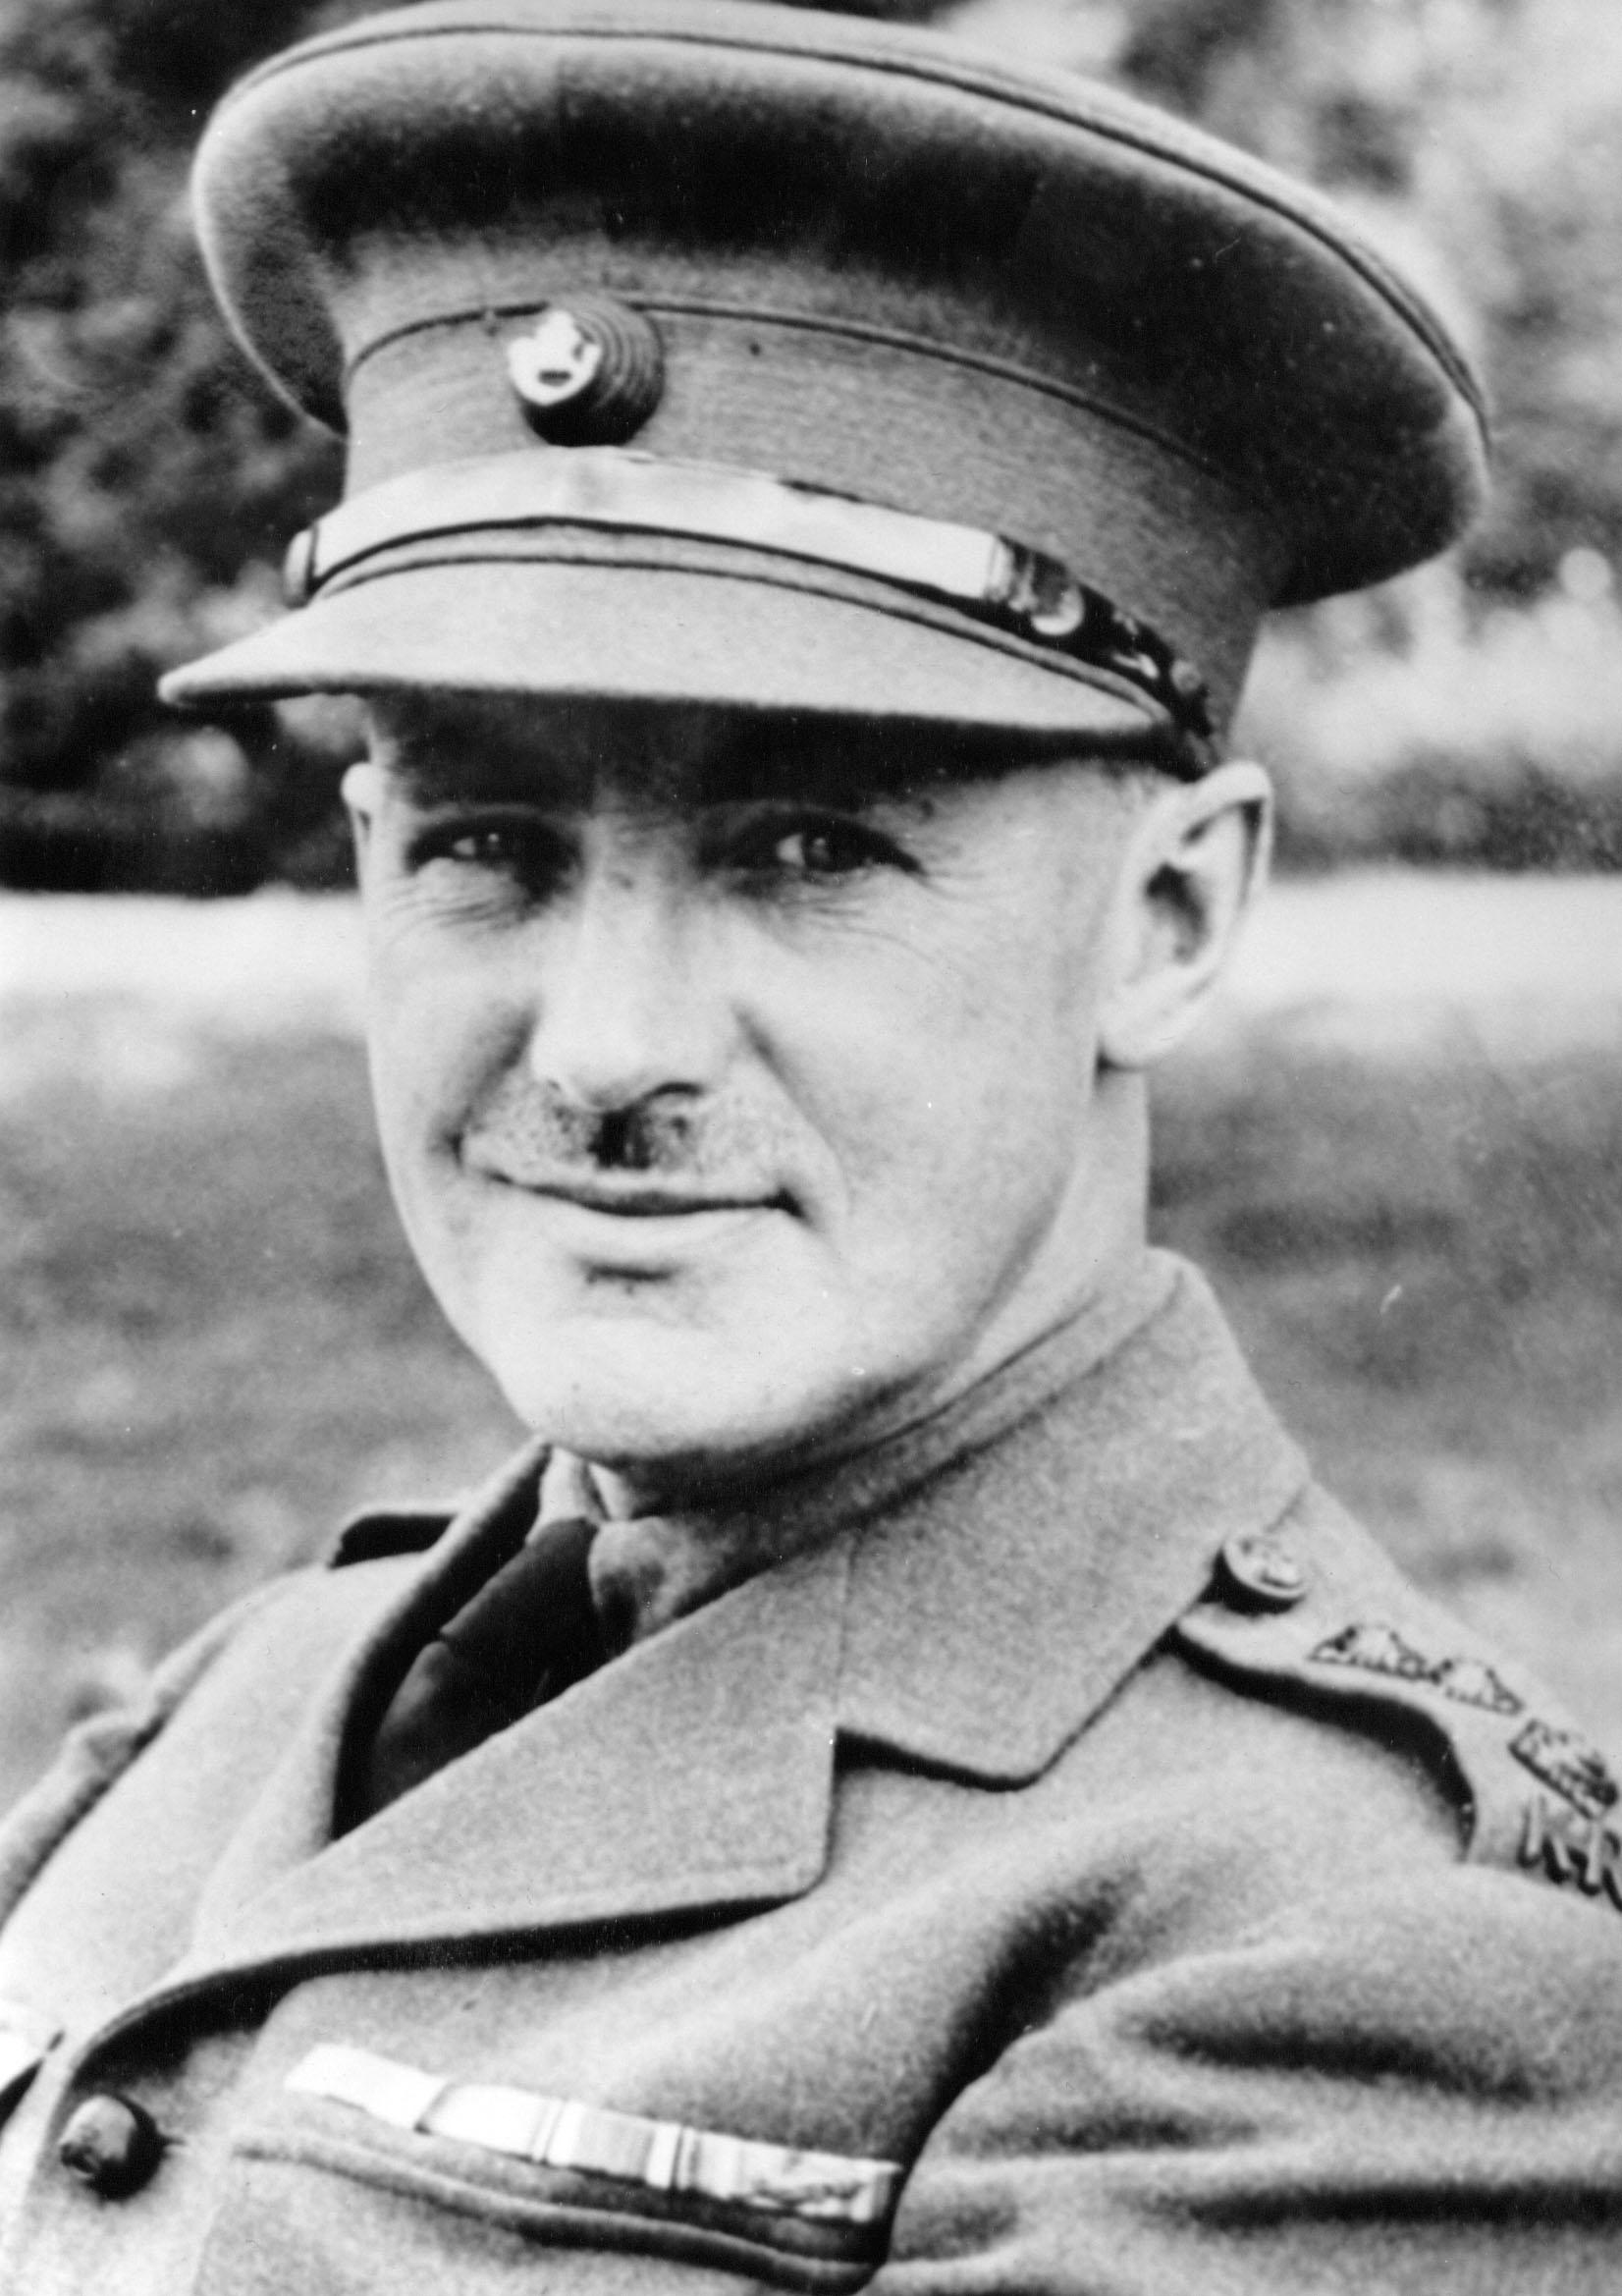
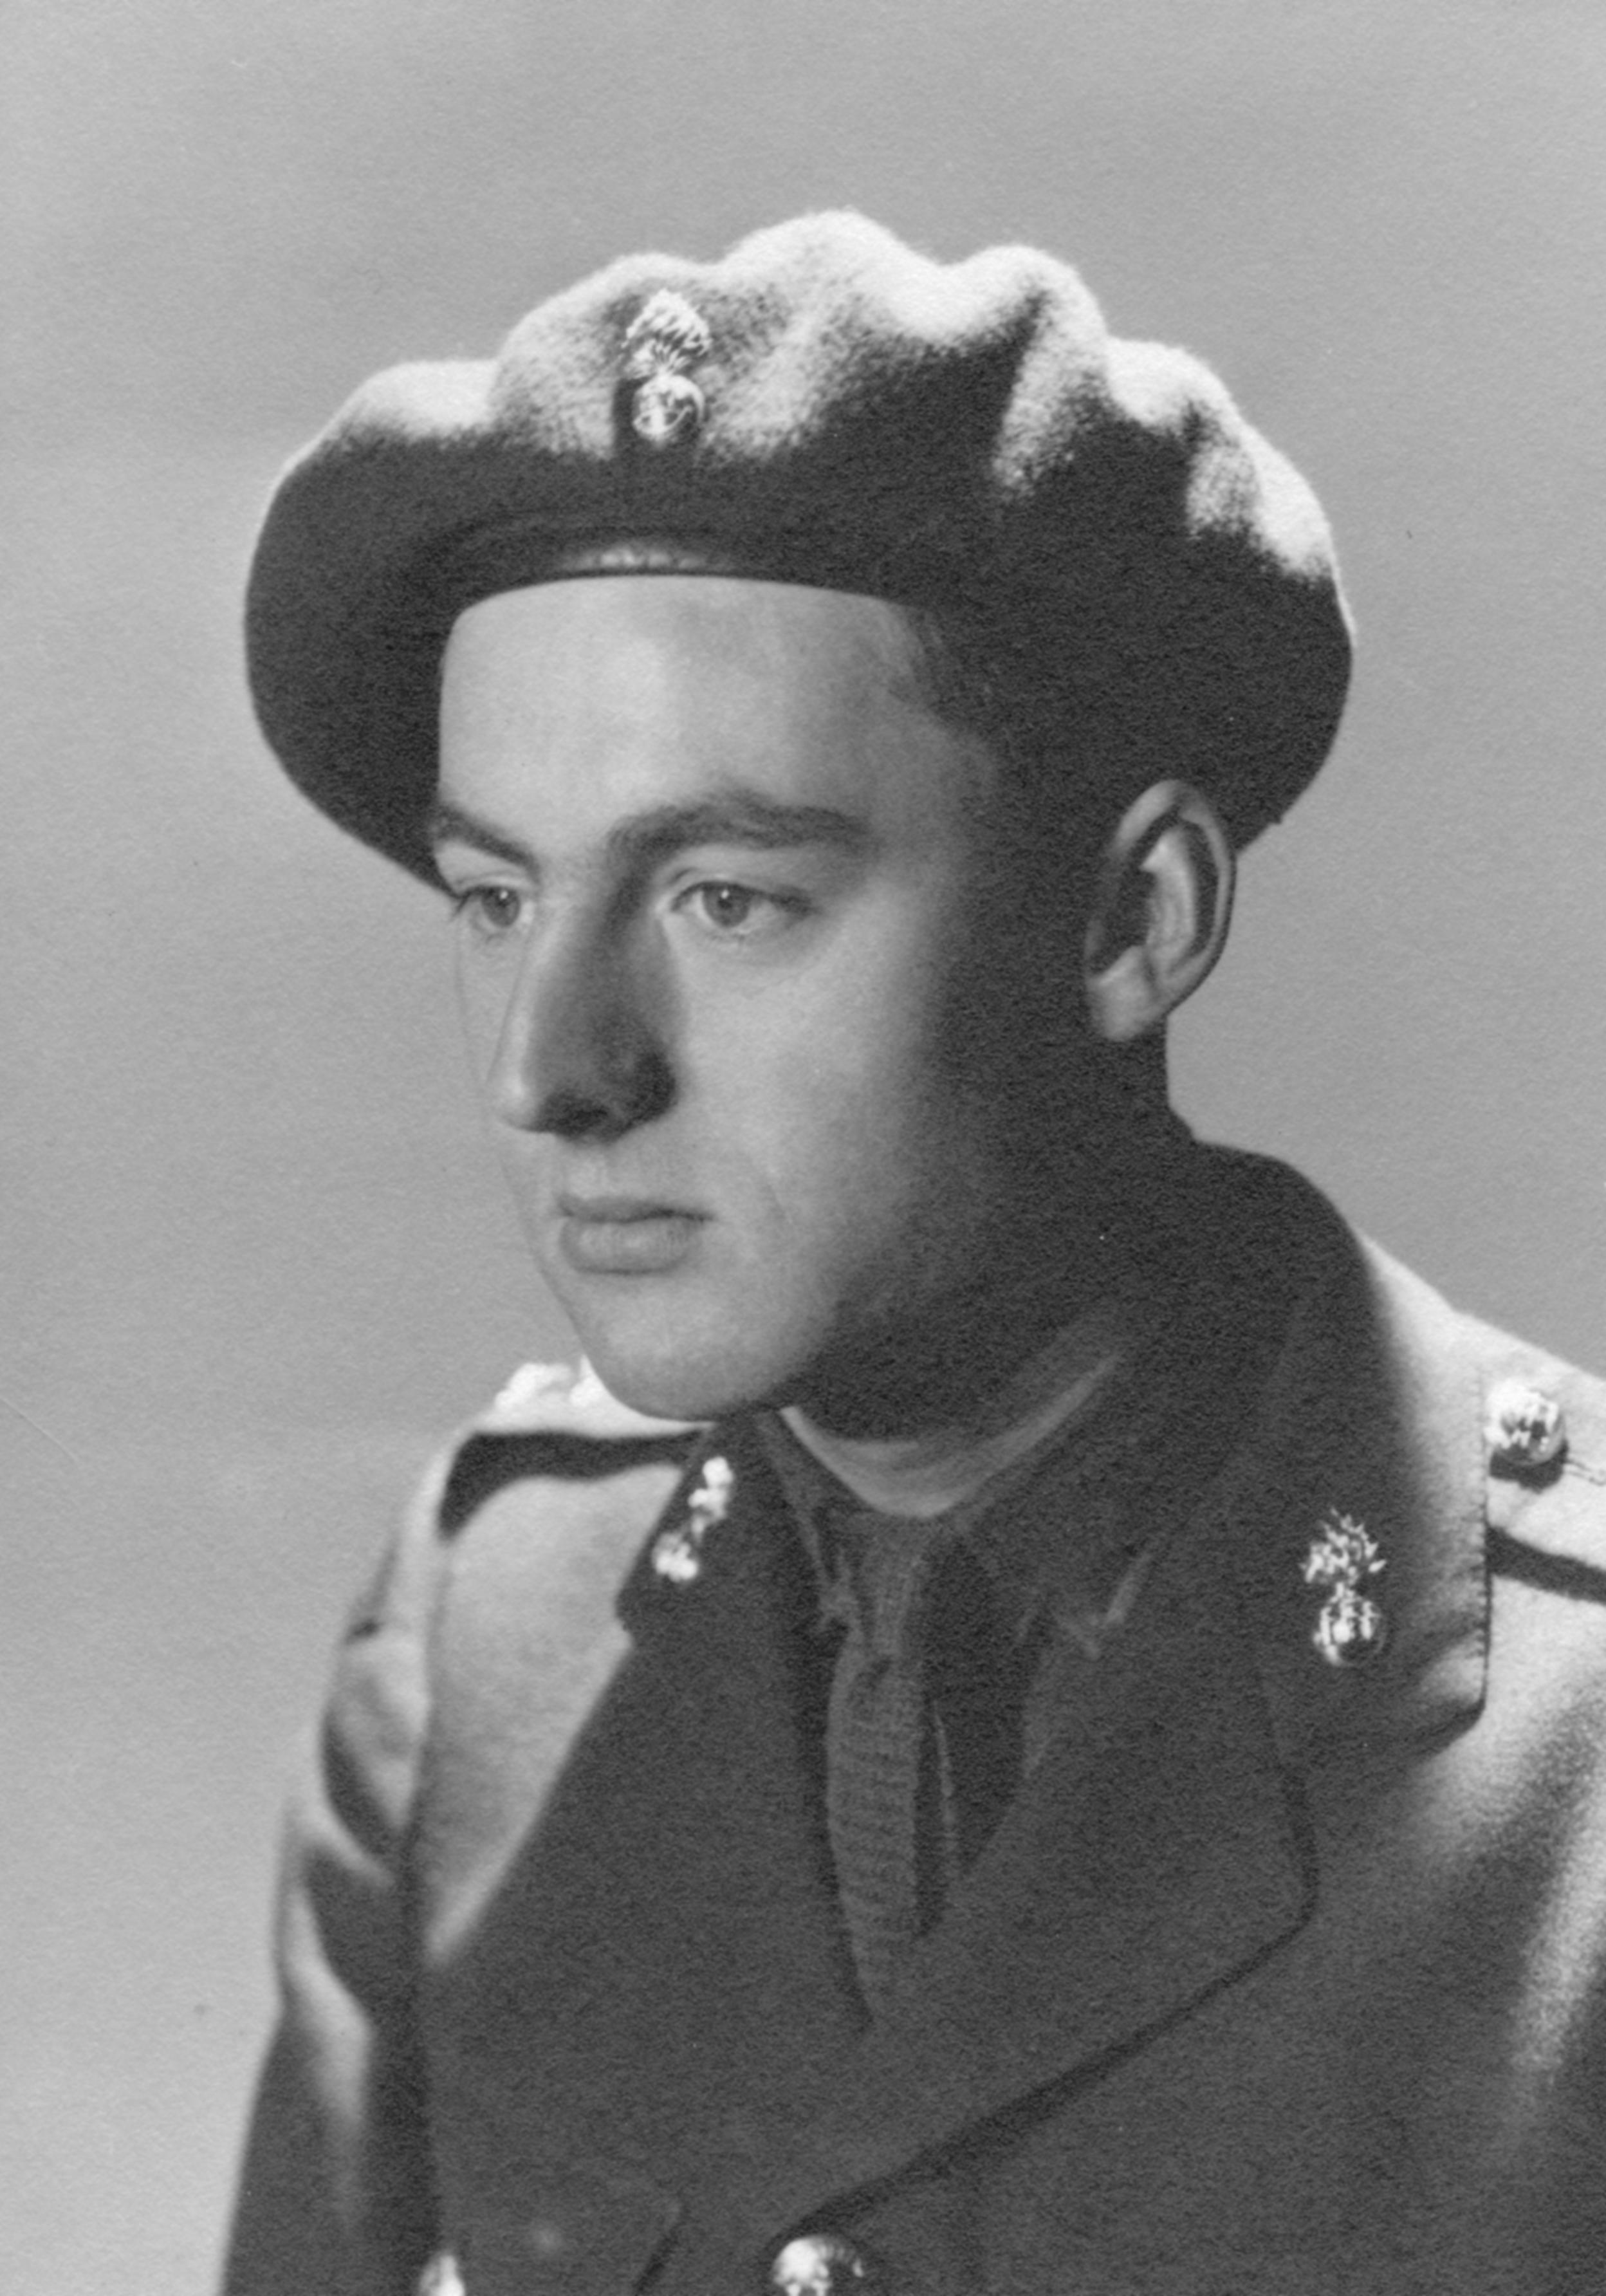
Paul Francis Bassett-Wilson was born in London on 22 April, 1920, and educated at Stowe and Trinity College, Cambridge. He was commissioned 2nd Lieutenant, Royal Inniskilling Fusiliers, on 28 December, 1940, and, after a period with the Special Training Centre at Lochailost, was attached to 12 Commando in August, 1941. It is believed that he took part in the highly successful second raid on Lofoten, Norway, 26 December, 1941, in which 12 Commando destroyed two wireless stations and captured 29 prisoners. What is certain is that he was one of the 90 men, chosen from several Commando units, specially trained in demolition tactics, that took part in the infamous raid on St. Nazaire on the night of 26/27 March, 1942. With Lieutenants A. D. Wilson and J. A. Bonvin, and twelve other ranks, his demolition party was embarked in ML 13, and detailed to attack the boilerhouse, impounding station and hydraulic power station in the old town. However, this Motor Launch was unable to disembark its team of Commandos and was one of only three Motor Launches to make it back to England, of the sixteen that had set out. Bassett-Wilson was, in September 1943, posted to 9 Commando and served with them in Italy, winning a highly deserved Military Cross. Sadly, he was reported killed in action the following year, the date officially being given as the 2nd April, 1945.
Paul's mother Muriel never recovered from the untimely death of her only child, and found it hard to be in the company of children from that moment on.
A Brief Account of Paul Bassett Wilson's Career in the Commandos by Neil Livingstone
Paul joined the Royal Inniskilling Fusiliers and then transferred to No.12 Commando. I don't know which of the earlier raids he participated in, but no doubt he was on one or two. In March 1942, Paul took part in the great St-Nazaire raid (operation Chariot), although, for various reasons, his party was unable to get ashore and their boat was one of the few that made it back to Falmouth. 12 Commando was disbanded and in August or September 1943, Paul and 27 other ranks joined No. 9 Commando, which soon sailed for Italy, via Algeria and Tunisia.
After a few months on the east coast (near Molfetta), 9 Commando moved to Naples in December. On 29-30 December, the Commando took part in Operation Partridge around the mouth of the Garigliano. On 22 January 1944, the Commando took part in Operation Shingle; they were withdrawn after a few days. During the first few days of February, the Commando took part in a major Battle on the slopes of Monte Ornito, during which they lost 34 killed. On 2 March, the Commando arrived back in Anzio, where it carried out patrols in front of the Allied lines Paul personally led three of these patrols (3-4 March, 4-5 March and 5-6 March). On 19 March, the Commando took part in a major battle in a wadi in front of the Allied lines; 25 men were killed, including my Father's Uncle, David Gavin Balls, who was the commander of 3 Troop. Paul was awarded a Military Cross. After this, the Commando returned to the east coast of Italy for refitting and Paul was given command of 3 Troop.
It appears that Paul was already parachute trained when he joined 9 Commando and he became the first member of 9 Commando to make an operational jump when he was dropped, with an SBS team, onto Himara, in Albania, to carry out a recce for the planned Operation LANDLUBBER I. On the basis of Paul's report, the operation was postponed. Operation LANDLUBBER II was also cancelled. An earlier Operation, INDEPENDENCE, the destruction of a radar station on Corfu, had also been cancelled, in anticipation of LANDLUBBER I.
On 15 September 1944, Foxforce (built around 9 Commando) arrived at Avlemon, on the eastern end of the island of Kithera, in Greece. By all accounts, they received a very warm welcome form the local residents. Some days earlier, Paul had again been dropped by parachute, along with an SBS patrol, this time onto the island, where they destroyed a radar station. In fact, the raiding force discovered that the island had been evacuated.
At 16.00 on 1 April 1945, which was also Easter Sunday, 9 Commando moved to the shores of Lake Comacchio for Operation Roast. Paul acted as beach master at the forming-up point on the far shore. At 09.00 the following day, 6 Troop was held up by a particularly heavy mortar bombardment from a well dug-in pit at a road junction, which kept their heads down for nearly half and hour. Later in the morning, Paul arrived at 6 Troop's position with the Forward Observation Officer. A runner took Captain Bassett-Wilson to Major Callf, at the 5 Troop position. At around 13.30 Paul and Les Callf were digging a deeper position and discussing their plan, when the Germans began to mortar their position. The first mortar bomb landed right beside Paul, wounding him severely. A very short time later, a second bomb killed Paul and L/Cpl Anthony Lody.
It appears that Paul was held in very high regard by the officers and men of 9 Commando, and had the potential to reach the rank of General. He certainly had a very eventful career in the Commandos, participating in the St-Nazaire raid, which was one of the greatest Commando raids of the war. And he was one of the few Commandos who carried out an operational parachute jump. On 19 March this year, I visited the exact location of my Great Uncle's death, at the exact moment. He died on his 24th birthday.
Neil Livingstone.
Operation X
On 10 March, 9 Commando, now, of course, under the command of 5th Division, received a warning order for an attack codenamed Operation X, the aim of which was to clear and hold three wadis lying approximately 11 miles (17km) north of Anzio town, nearly 4,000 yards west-north-west of the flyover bridge and just over 500 yards beyond the beach head perimeter. The enemy had been forming up in these wadis before their attacks on the Allied troops, and had been inflicting heavy casualties on the regular British infantry units. We were to divert the Germans, but Operation X was part of something much bigger. On 22 February, when General Truscott had assumed command of VI Corps, the previous month, he had immediately adopted a more aggressive attitude. The Anzio landings had been staged to take the heat off Cassino but with the stalemate in the beach head, the roles looked set to be reversed. A major Allied push was planned on the Cassino front and Truscott hoped to harness the momentum from this by launching a two-division breakout from the Anzio beach head, All being well, this operation would start on 19 March 1944, coinciding with the Allied breakthrough at Cassino. However, when the Third Battle of Cassino (launched on 15 March) failed to break through the German defences, the operation was postponed. Well, not quite; every part of the operation was postponed, except No. 9 Commando's part in it. We were to assault alone, on 19 March, hold the wadi system, and then withdraw.
The wadis, which formed a rough "C" shape, were given the usual 2 SS Brigade codenames: "Haydon" (after Major General Charles Haydon DSO, the commander of the original Special Service Brigade, founded in October 1940); "Laycock" (after Brigadier Robert Laycock, the famous commander of "Layforce" and a previous Commander of 2 Special Service Brigade); and "Charles" (also named after General Haydon). In the centre of the wadis was a small hill, which they named "Beechers" (after the Grand National's "Beecher's Brook," I assume). To the north of Laycock was a narrow hill named "Churchill (after Tom);" to the west of Charles was a small sliver of high ground named "Bob (after Bob Laycock)" and west of that a wadi named "Tom" (after Churchill). Beyond the three wadis (i.e. to the north-east of Laycock) was the "Fortress" and just to the west of Tom was the "Shack". The original plan had been for a massive, two-division attack to disrupt the German counter-attacks, but this was soon downgraded to a mere "spoiling" attack by 9 Commando alone. The plan was to "attack and clear the wadis, Charles, Haydon and Laycock and to hold Laycock until after dark when the force was to withdraw at most suitable time and by the best possible route".
The operation was to proceed in three phases: the first phase, to be carried out in darkness, involved the assault and clearance of Haydon by two squadrons, after which a third squadron and the rest of the Commando, including the HQ and 3 Troop, would move into that wadi. The second phase involved the clearing and occupation of Charles at first light, followed by the consolidation of the junction of Charles and Laycock. The third phase involved the clearing and occupation of Laycock, after which the entire assault force was to consolidate in the wadi system and form a defensive position. The Commando was divided into three squadrons: A Squadron (1 and 2 Troops, commanded by Capt. Harry Kither, with 47 men); B Squadron (5 and 6 Troops, commanded by Capt. Les Callf, with 48 men) and C Squadron (4 Troop, commanded by Capt. Mike Long, with 26 men). As commander of 3 Troop, I was in charge of the heavy machine guns and 3" mortars. The rest of the Commando force was to be made up of: HQ (15 men, including, of course, the CO, Ronnie Tod); the supply echelon (15 men, commanded by our Admin Officer, Capt. Drew Cochrane); RAMC (8 men, commanded by Capt. John D'Arcy); and HQ Defence (19 men, commanded by Capt. Mike Davies).
An hour before midnight on Saturday, 18 March, the 14 officers and 198 other ranks of 9 Commando's raiding force left the bivouac area and marched in squadrons (and silently in our rubber-soled boots) towards the start line; by 01.45, all but "A" squadron were in position. "A" squadron arrived ten minutes later. Communications with 13 Brigade were bad, with a lot of interference. I had 29 men under my command; 15 in the Machine Gun Section and 14 in the Mortar Section. At exactly 02.00 on Sunday, 19 March, 9 Commando's lead assault squadrons, B and C, filed silently into the shallow wadi that formed the start line; but not quite fast enough for Paul Basset-Wilson, whose tall, lanky frame loomed out of the darkness to warn the men that they were going to be too late to throw their grenades at the Germans. Paul could be rather taciturn at times, but he had a dry sense of humour and commanded immense respect; a future General, perhaps? Long before the day was out our blokes had thrown all their grenades and were calling desperately for more. And Paul had won himself a Military Cross.
B and C Squadrons lined up facing the rim of the wadi a few yards above them. A few deep breaths, a mental review of the plan, and then the hundred or so Commandos scrambled up the slope and began to move stealthily north-eastwards across the 500 yards of flat, open ground, crossed a track and closed in on their first objective of Haydon. Three Troop's mortar section stood by to provide covering fire, but no opposition was encountered. Two minutes later, with Harry Kither leading the way, A Squadron scrambled up the banking and crossed the Start Line. We could have heard a pin drop; and so could the Germans. At 02.05, B and C squadrons reached the wadi Haydon and slid and scrambled down the steep and treacherous sides of the wadi, with bayonets fixed, cursing and yelling in extended formation. Immediately they came under fire from German LMGs at the north-western and south-eastern ends of the wadi, but almost as immediately, they knocked them out. It is a testament to our training that the Germans in the position were taken completely by surprise by the sudden appearance of the Commandos and gave up easily. Some fled to the higher ground, others ran off down Charles; but two men (from 7 Coy, Sturm Regt) were cornered and captured; they were lucky that 9 Commando placed such a high value on live prisoners. Wire was encountered south-west of the junction of Haydon and Charles; single, Dannert-type coils that could shred cloth and skin terribly, and in some cases did so. It was one-nil to Number Nine. However, although the first objective was taken relatively easily, our little attack had stirred up a hornet's nest.
At 03.30, "Weymouth" (the start of second wave of the first phase) was executed. Here we go then… As 3 Troop and the Commando HQ scrambled up the sides of the start line and advanced across the open ground, we were subjected to a rather impressive bombardment. Although one of the blokes was wounded by an anti-personnel mine, we pressed on and made it to the rim of Haydon. At its centre, the wadi was probably around ten or twelve yards deep, and it was somewhat more than double that from the southern rim across to the northern rim. We snaked, slid and scrambled our way down into the depths of this great fissure, grabbing trees where we could. Along the wadi floor was a ditch around a yard wide, filled with dirty, smelly water; we jumped across and began to climb the far slope. Meanwhile, within 15 minutes of its arrival, Commando HQ had set up at grid 828305 and was fully operational. At 04.25, Haydon was mortared and five minutes later, the CO ordered "Rothesay" (carriers to come across), but by now the Germans had the open ground well covered. The whole Commando force continued to prepare defensive positions in the wadi, all the time coming under heavy small arms fire from Beechers and Bob. Patrols were sent out to inflict casualties on the enemy. The moon rose in a clear sky.
Soon after our arrival, we had come under sporadic fire as we settled in and prepared our fighting positions and around dawn, we fought off a German counter-attack. I'm sure Paul would have been pleased to see that 3 Troop had arrived in time to throw our grenades at the Germans! At 05.35 the CO ordered the second phase of Operation X, namely "Dorchester" (the assault on Charles). Harry Kither's A Squadron moved up the right (south-eastern) side of the narrow wadi, but almost immediately came under LMG fire from Germans situated to their right up on Beechers, and small arms fire from more Germans in front and above them on Bob. Les Callf's B Squadron made it halfway along the left (north-western) side of the wadi, before they too came under fire from Germans on Beechers and others advancing from the junction of Charles and Laycock. At five to six, the German's launched a counter-attack from Beechers into Haydon, which was beaten off and within minutes my troop was placed on the north side of Haydon, where we were to remain until nightfall. Twenty minutes later, C squadron was brought to the rear of the Commando HQ. Meanwhile, A Squadron moved to the right and took up position along the side of the wadi and the north-eastern side of Haydon. B Squadron's 5 Troop remained pinned down by snipers firing from Beechers and the Germans were seen infiltrating to the junction of Charles and Laycock some 100 yards in front of the Commandos. As this was going on, 4 Troop arrived at the rear of the HQ and the CO requested artillery strikes (codenamed "Snowdrop" and "Cowslip") on the junction of Charles and Laycock; the shells landed too close to our blokes, but nevertheless, right on top of the enemy. In the meantime, at 06.40, A Squadron sent out a patrol to make contact with my troop and two minutes later, another German counter-attack on Haydon was repulsed. At first light, B Squadron's rear troop was subjected to a weak, platoon-sized attack from Bob, but broke it up. The front troop remained pinned down for some time, but still managed to inflict an unlucky 13 casualties on the enemy with rifle and LMG fire. Eventually the forward troop was withdrawn under cover of smoke and took up position on ground that dominated Bob, but was itself dominated by Beechers. Meanwhile, 4 Troop was keeping the enemy on Beechers fully engaged.
At 06.52, the CO called for "Herring" (defensive fire), which began two minutes later but was stopped almost immediately, as it was falling too close to the Commandos. At seven o'clock, the men of A Squadron, which was covering its own withdrawal, reported that they were being fired at from the rear (from Bob). Five minutes later, I spotted Germans mounting machine guns on the high ground to the right of the Shack at 826307; five minutes after that, these guns were opened fire on us and there was not much we could do about it. At seven-thirty, the CO ordered A Squadron to close in to the right of 3 Troop and to keep in contact with us and C squadron. Shortly afterwards, Haydon was mortared and the CO responded by ordering the Royal Artillery to provide "round the clock mortars". At ten to eight, A squadron took up its new positions and 5 Troop moved to the junction of Haydon and Charles.
At 07.50, just as the blackout was being lifted back home in Glasgow, the perimeter was reorganized. My 3 Troop was put on the northern crest of Haydon. Harry Kither's A Squadron held the right flank of Haydon (to our right). Les Callf's B Squadron held the junction of Charles and Haydon and the left flank. Mike Long's C Squadron held the rear on the south-west side of Haydon. These positions were held throughout the day. Unfortunately, we were unable to drop back further into the wadi without losing our fields of fire, and this left us clinging to the steep slope, terribly exposed and vulnerable to anything that exploded behind and below us. It was going to be a bad day in the office, but as always, Number Nine was going to make the best of it! Fortunately, most of the blokes were able to dig in, which would keep a lot of them alive. As dawn broke, we could see that some of the Germans were occupying what appeared to be their reserve defences 30-40 yards from the lip of the wadi, whilst others had taken up positions in and around a clump of battle-scarred trees. Throughout the morning, the entire Commando found itself pinned down and subjected to repeated counter-attack, sniper fire and mortar and artillery bombardments. B Squadron came under accurate fire from Beechers and soon had just one Bren with which to fire onto Bob, and thus prevent the Germans from digging in. B Squadron also came under effective bombardment from German 2" mortars. Another Bren on the west prevented the Germans from infiltrating small parties into Charles from Beechers. Enemy LMGs and snipers fired into the centre of Haydon; however, we were experienced enough to know that the Germans were trying to get us to give away our positions and so we did not return fire unneccesarily. Five patrols from A Squadron were sent out to deal with these snipers, but were unable to complete their tasks because the Germans on Beechers had such a dominant view of the battlefield. However, C Troop was eventually able to take out some of the German snipers. During the early stages of the consolidation, the Commando HQ area was hit by rifle grenades.
The re-supply plan (codename "Rothsay") had been for the carriers to bring supplies from the start line before first light, and at 04.30, the CO sent the signal to the Admin Officer for this to begin. However, the enemy were right on the ball and shelled the start line, causing half a dozen casualties amongst the carriers. Throughout the day, virtually all efforts to re-supply us across the open ground between Haydon and the start line were thwarted by the sheer volume of fire. Our Universal Carrier, or Bren Gun Carrier, was lightly armoured and would have offered only limited protection from small arms fire, grenades and shrapnel, and, being uncovered on top, would have been quite vulnerable on the open ground. And there would have been the problem of getting the supplies out of the vehicle into the wadi under constant fire. A German self-propelled gun fired intermittently from a bearing of 3359 (approx. NNW at grid 828307); fortunately most of these shells landed in and beyond the south-east end of Haydon. Every attempt to fire our 2" mortars brought heavy and accurate German mortar fire onto the firing position. The guns of 91 Field Regt RA fired tasks throughout the morning, mainly at mortar positions, and for an hour came under artillery fire themselves; one gun was damaged, but no casualties were sustained. Ronnie Tod later praised the artillery support provided by 91 Field Regiment RA, despite the fact that the odd British shell had fallen onto our own positions and that the Gunners had been unable to take out the self-propelled gun. In fact, the gunners were also supporting the Cameronians, who were also involved in a fierce battle to the east. Between 18.00 and 22.00 hours, 91 Field Regiment's guns fired thousands of rounds.
At 09.55, a dozen casualties (including the gravely wounded Lieut. Mickey Scott from my own Troop, who had still not recovered properly from his serious chest wound sustained on the Garigliano) were evacuated under Red Cross flag. Sportingly, the Germans allowed the extremely courageous stretcher party from 164 Field Ambulance RAMC to cross the open ground unmolested. However, as soon as they were behind cover at the start line, they were subjected to a heavy artillery barrage and took casualties (at least one member of 164 was killed that day). The German gunners then turned their attention back to Haydon, which was subjected to a very heavy barrage between 10.15 and 10.30 that resulted in ten casualties, including Ronnie Tod, who was shot in the arm. It soon became clear that if the Commando was to avoid annihilation, we would have to be reinforced or withdrawn. Mike Allen told Robin Neillands how the CO broke the bad news to the Division in his usual dry way:
"As the operation plan had made no provision for back-up support or relief, Ronnie Tod… suggested to 5th Division, to whom we had been attached for the operation, that 2 Commando Brigade [sic] would be displeased if 9 Commando was left to be expended as the Division's protection against counter-attacks."
Back in the wadi, we were already running low on ammunition; during the entire operation, only one of the carriers (from the Commando MT personnel) managed to cross the open ground with a re-supply of ammunition from the pre-positioned dump; others were wounded at the start line. The Germans had no such problems and continued to pour fire into our positions. Not content with this, they tried every trick in their book, at times crossing the very thin line from ruse to treachery and perfidy. They tried to lure us into the open by waving white flags, but were dealt with in accordance with the laws of war. They tried to confuse us by shouting orders and directions in English. They tried to intercept our radio traffic, but their attempts were amateurish; on three channels, "pirate" stations called in, but were unable to identify themselves when challenged. They also shot some of our blokes who had laid down their weapons and were quite obviously tending their wounded comrades. As the battle raged, there were some brave and poignant moments: the mortally wounded L/Sgt Leonard Coupe raised the men's spirits by singing "Here's to the next man to die" even as he, himself, lay dying:
At 11.00, Vesuvius, which had been simmering and sending out lava flows since the previous afternoon, erupted with a massive explosion that sent a gigantic plume of black smoke, as wide as the mountain itself and looking every bit as solid, miles into the skies above the Bay of Naples and our rear base at Bacoli. This was the only eruption of a volcano on the European mainland in the entire 20th century and it marked the end of a period of activity that had begun in 1631 and had resulted in 22 eruptions. The 1944 eruption destroyed the villages of San Sebastiano al Vesuvio, Massa di Somma, Ottaviano and part of San Giorgio a Cremano; it also destroyed all 88 planes in a U.S. B-25 bomber group, but very few people died. We knew nothing of this massive eruption, but if any of us had been looking for an omen...
Since our arrival, the weather in Anzio had been no more than fair, with frequent grey skies and rain from time to time. However, Sunday, 19 March was a very pleasant spring day, and the skies above the wadi Haydon were a beautiful shade of blue. A bright sunny day, just like in Sergeant Coupe's song… At 12.30, as the moon set, Ronnie Tod began to draw up a preparatory plan for "Ornito" (the withdrawal of the Commando). At 13.00, the Germans stepped up their artillery and mortar barrage again; this was the heaviest bombardment until dusk. For some of us, this was to be our longest day; for others, our shortest.
And so the battle raged on, as 51 Brigade gave the order for the entire Commando to withdraw to the original start line at 19.30. The Medical Officer and his orderlies did what they could to stabilize the wounded. A unique feature of the Commando medics was that they were fully trained Commandos and thus not able to enjoy the protection normally accorded to medical personnel by the Geneva Conventions. One of 9 Commando's medics, 28-year-old Private Thomas Quigley, was shot in the forehead right next to Leslie Callf and died instantly. Shortly after 17.00, the CO gave the squadron commanders their orders for "Ornito," the withdrawal. At 18.00 hours, after the order to withdraw had come from 51 Brigade (but before many of the Commandos knew about it), there was a considerable increase in the volume of fire falling on the Commandos in Haydon. German LMGs were now firing right along the length of Haydon, from both sides, as well as down Charles. The Commandos were pinned down, and with darkness approaching, they knew that their luck was running out fast. All around them they could hear the enemy sneaking into position; the whispers, the rustling, the clanking of equipment. They knew that a large counter-attack was brewing. The British Commandos were hard men, hardened even further by recent experiences and almost to a man they were prepared to go down with a fight. But for a few, particularly the younger members of the Commando, the tension and fear were almost overwhelming. This was a time for story book heroics, and for the NCOs and the older men to get a grip and inspire those who were about to lose it. And this they did with true Commando grit. Number 9 Commando was ready to fight for its life.
At 19.00 hours, German smoke was put down along the whole length of Haydon and the first wave of Germans (including battle-hardened paratroopers, some of whose NCOs had probably served in places like Stalingrad) assaulted over the crest of Beechers throwing grenades. Rifle grenades were fired into the main part of the wadi from a position to the right of the main assault. Right in the thick of the action was Glaswegian John Howie Wham, of the Royal Scots (The Royal Regiment), who, when the first German wave came in, grabbed a Bren gun from a wounded colleague and ran up onto the forward crest of the wadi Haydon, from which the Germans were throwing and firing grenades onto the Commandos. In his citation for the Military Medal, it is confirmed that this action was "largely responsible for the repulse of the first enemy wave of attack". Two lesser (diversionary), platoon-sized, attacks came in, the larger one on the left flank (towards B Squadron) and the other on the right flank (towards A Squadron), but both were beaten off.
The second frontal wave, the main German attack, was pushed through with "determination and military precision". The Germans, firing their weapons (including LMGs) from the hip, poured down from Beechers through the 3 Troop position and quickly succeeded in driving a wedge into the Commando Defence Line and the Commando HQ. Some of the HQ radio sets were put out of action by grenades and others were abandoned as half the HQ staff became embroiled in the battle, which involved hand to hand fighting. Lieut. Col. Tod displayed commendable Commando spirit by immediately abandoning his position to act as the number two on a Bren being fired by Sergeant Duggie Brown, the Officer's Mess cook. Men from both sides scrambled up and down the steep slopes of the wadi, others moved desperately along the narrow ditch of the wadi floor. In the darkness, chaos reigned for some minutes, with a crescendo of small arms fire overwhelming the shouts of so many soldiers of both sides and the screams of the wounded.
The Germans must have thought they were about to annihilate another British unit. However, they were about to learn the lesson that their colleagues around the shorelines of Europe had been learning for several years, namely that the British Commandos were as good as, if not better than, the best the Wehrmacht had to offer. Moreover, like so many enemy soldiers over the previous centuries, they underestimated the sheer power of the bagpipes to motivate and inspire Scottish, Irish and British soldiers to overcome the most overwhelming odds. The pipes skirled, the Commando training kicked in and this second German wave, firing automatic weapons in all directions, was soon broken up by concerted fire from the whole of the Commando. A third German wave came in, apparently to consolidate the positions won by the first two waves and panicked when they realized that there was nothing to consolidate. As 3 Troop's line was stabilized, 4 Troop and the remainder of Commando HQ moved forward to take part in the battle. A troop from A squadron put in a counter-attack on the right flank and came up against this third German wave. At 19.15, with the help of A squadron (and to the sound of the pipes), 3 Troop and Commando HQ launched a ferocious counter-attack to beat back this third wave, recapture their original positions and drive the Germans back over the crest of Beechers.
Having defeated the Germans and re-occupied and consolidated their positions, the Commandos began executing their withdrawal, which had been postponed from 19.30. Meanwhile, the Germans retreated to a distance of 3-400 yards from where they continued to fire into the British positions. At 20.00, the 2 i/c, Capt. Mike Allen made the hazardous 500-yard sprint back to the British lines to arrange artillery support from the Support Coy, HQ 2 Wiltshires. At the same time, B Squadron closed in on the left and occupied the C Squadron positions to cover the withdrawal, supported by the LMGs of all troops. By 20.40, the Commando had brought back all its wounded (including 14 stretcher cases) through the minefields and barbed wire. The first to withdraw were the riflemen, carrying their casualties in ponchos, blankets, groundsheets and great coats, followed by the machine gunners.
At 20.45, Ronnie Tod ordered LMG cover to withdraw through B Squadron to the original start line. Five minutes later, he ordered B Squadron to withdraw. As the Commando withdrew, it was subjected to heavy enemy fire No sooner had the last men left Haydon than the wadi too was subjected to a fierce artillery barrage. No casualties had been suffered during the withdrawal and all the wounded were brought out. Sadly, the dead had to be left behind, and I'm sure that to a man, they would have agreed that this was the correct decision; dying to recover a corpse is a waste of a young life. By 23.45, the unit was back at the bivouac area it had left around 24 hours before; battered and bruised, but aware that it could have been an awful lot worse. Down in Naples, the glowing lava continued to stream down into the populated areas, destroying everything in its path and by the following morning, a thick layer of ash covered Naples and the surrounding area, including Bacoli.
KING'S MEAD SCHOOL Entered 1929. King's Mead School was opened as a boys' preparatory school in 1914 when the purpose built school buildings were completed. As such they are probably the only remaining example of their type built in the first part of the 20th Century. Over 890 boys went to the school before it closed down and merged with another school near East Grinstead.
Lot 734, 19 Apr 95
Category: GROUPS AND SINGLE DECORATIONS FOR GALLANTRY
Estimate: ?00-?200
Hammer Price: ££ 1,000
Description A Second World War Commando operations M.C. group of five awarded to Captain Paul Bassett-Wilson, 9 Commando and Royal Inniskilling Fusiliers
Military Cross, G.V1.R., the reverse officially dated ?944?with its case of issue; 1939-45 Star; Italy Star; Defence and War Medals, together with official named condolence slip, silver ‘G.Q.?parachute wings and silver Commando-knife tie pin, nearly extremely fine (5)
M.C. London Gazette 20 July, 1944 (Italy);165718 WS/Lieutenant Paul Bassett-Wilson, 9 Commando (Innisks).
The following citation was extracted from official records: ‘On night of 3/4 March 1944 this officer led a recce patrol 1000 yards into the enemy lines in order to recce Boche positions which might be successfully attacked by a fighting patrol. The following night he led a fighting patrol in an attack on a Boche Headquarters which he had located the night before. Both these patrols were carried out under most hazardous circumstances, as they had to be done in broad moonlight, over dead flat country which was covered by enemy fixed LMG positions, and through areas which were known to be sown with our own and enemy uncharted mines. In spite of these difficulties, this officer led the fighting patrol onto the objective in a most determined and gallant manner, with the result that the Boche Headquarters was thoroughly beaten up, and a prisoner captured in the final assault. The prisoner captured was of particular value as no prisoner had been captured from this particular line before. During the withdrawal of the fighting patrol it was continuously engaged by enemy LMGs while crossing open country and suffered casualties. Lieutenant Bassett-Wilson, however, ensured that the prisoner was taken to our lines, and remained to the last until all the casualties had been evacuated to our lines.
The success of these patrols may be attributed to the very high standard of leadership of the officer, who displayed great courage and determination in a very hazardous action.?
Paul Francis Bassett-Wilson was born in London on 22 April, 1920, and educated at Stowe and Trinity College, Cambridge. He was commissioned 2nd Lieutenant, Royal Inniskilling Fusiliers, on 28 December, 1940, and, after a period with the Special Training Centre at Lochailost, was attached to 12 Commando in August, 1941. It is believed that he took part in the highly successful second raid on Lofoten, Norway, 26 December, 1941, in which 12 Commando destroyed two wireless stations and captured 29 prisoners. What is certain is that he was one of the 90 men, chosen from several Commando units, specially trained in demolition tactics, that took part in the infamous raid on St. Nazaire on the night of 26/27 March, 1942. With Lieutenants A. D. Wilson and J. A. Bonvin, and twelve other ranks, his demolition party was embarked in ML 13, and detailed to attack the boilerhouse, impounding station and hydraulic power station in the old town. However, this Motor Launch was unable to disembark its team of Commandos and was one of only three Motor Launches to make it back to England, of the sixteen that had set out.
Bassett-Wilson was, in September 1943, posted to 9 Commando and served with them in Italy, winning a highly deserved Military Cross. Sadly, he was reported killed in action the following year, the date officially being given as the 2nd April, 1945.
The lot is sold with a quantity of research including copies of his official Military History Sheets.